Cloudy Clear Vial Labels: Check the Applied Appearance Before Reordering
If a clear vial label looks cloudy, keep an unapplied label from the same roll and compare two matched applied samples before replacing the film. Look at a verified dry application and the actual handling condition. Record when the appearance changes and where it starts. That gives the converter a practical way to distinguish a stock or finish question from a bottle or application question.
Set up a comparison that preserves the original appearance
Retain an unapplied piece with the roll identification. Its backing changes what you see, so use it to identify the stock and obvious defects rather than as the final appearance standard. Put matching labels on the same type of vial and use the same viewing background. Use a clean, dry bottle for one reference and have the line owner capture the actual state of the other bottle when it is labeled. Keep the print and finish the same. Compare unprinted areas as well as the white-backed artwork. Use the white ink guide for deliberately opaque areas.
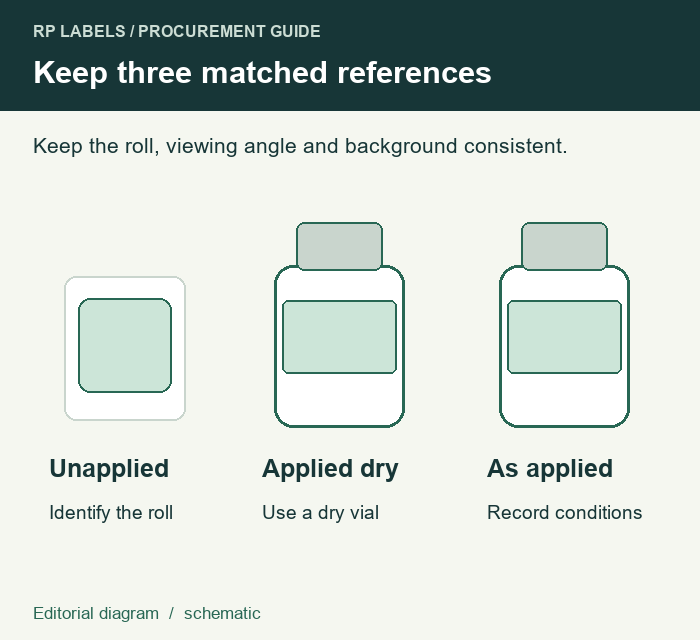
UPM's film materials guide describes clear-on-clear labels as a transparent film combined with a clear adhesive. Avery Dennison's glossary describes moisture-related whitening in certain adhesive systems. A milky area can justify that comparison. The appearance alone cannot establish which layer changed. Air trapped at application, bottle surface variation, a deliberately matte finish and moisture can affect the view in different ways.
Observe when and where the appearance changes
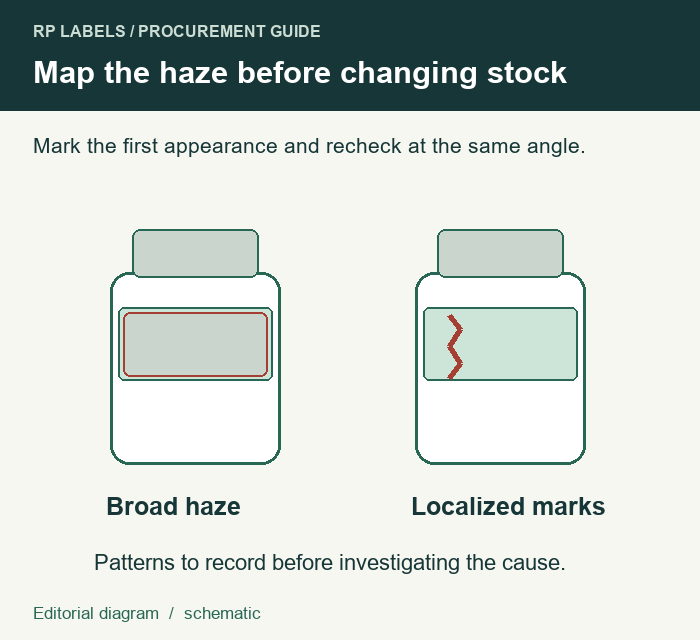
At application, record any streaks that follow the wipe path or bubbles near a seam. Recheck both references after the same agreed interval and after the relevant handling step. Keep the lighting, bottle orientation and background consistent. If the cloudiness clears when exterior moisture is removed, record that observation separately from any remaining haze beneath the label. For a job involving cold handling, use the condensation guide to define the actual application and return-to-room conditions.
| Pattern in the comparison | What to ask for next |
|---|---|
| Both applied specimens have the same overall haze under the agreed viewing conditions | Confirm the actual clear stock, adhesive and finish. Ask for a matched specimen of the alternate construction if the agreed appearance is unmet. |
| The dry reference is clear and the other changes after the recorded moisture step | Have the converter review the adhesive system and the line owner review when moisture is present. Trial one change at a time. |
| Local marks follow a seam or application direction | Ask the packer to check contact and bottle variation before changing film. |
If an agreed clear viewing zone is obscured, hold appearance approval and retain the samples with the conditions that produced them. Code legibility and label bonding remain separate approvals. The final sample record should identify the bottle, fill appearance, film, adhesive, finish and what the buyer expects to see.
Send the references with the quote request
Prepare your RP Labels inquiry with the clear-zone drawing, actual vial and background, quantity per design, roll reference and paired photos from the same view. Include the application and handling observations. Ask what comparable material or finished sample can be quoted for the appearance you need.