Glass vs Plastic Vial Labels: Requalify the Container Change
The replacement vial looks close enough in the supplier's photograph. The artwork has not changed. That is precisely when a container change can slip through as a purchasing detail instead of reopening the label approval.
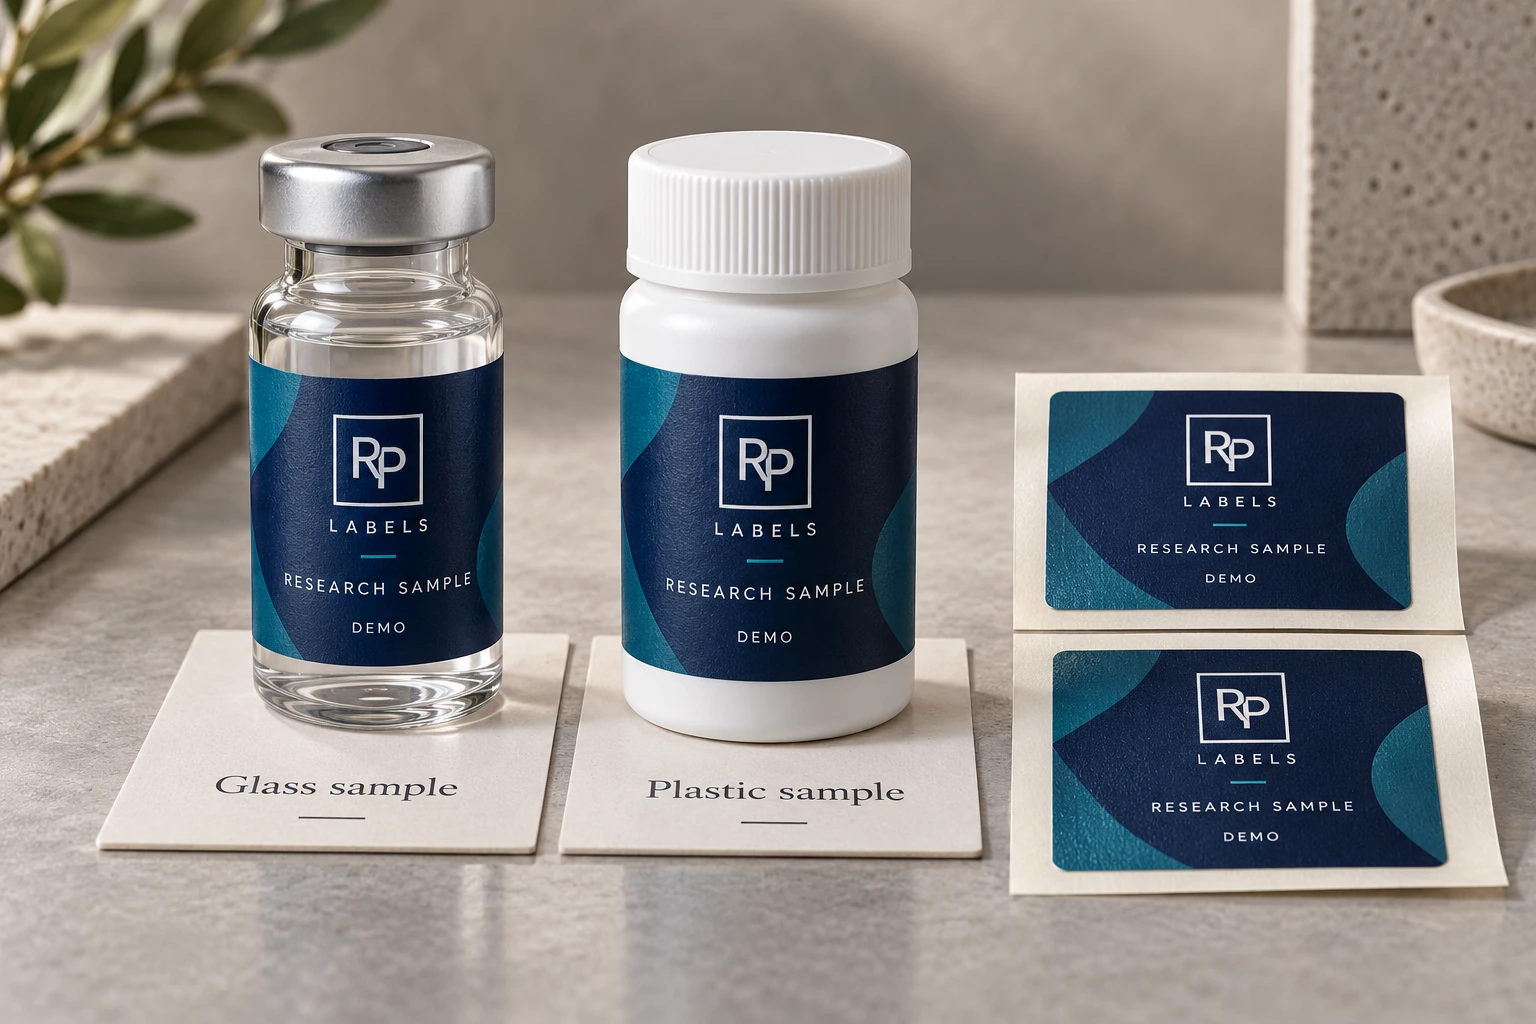
The short answer: glass usually provides a friendlier bonding surface than low-surface-energy plastics, but container coatings, moisture and handling can change the result. Plastic vials require the exact resin and surface condition, not just the word "plastic." On either material, a thin conformable facestock and an adhesive with strong small-diameter hold reduce edge lift.
Imagine a buyer comparing a clear vial with an amber replacement. Reusing the old label specification because the dimensions look close would leave the container material and surface unconfirmed.
Amber may mean colored glass, PET or another polymer. A plastic vial may be PP, HDPE or PET. It may also carry a coating, mold release residue or treatment that changes adhesion. The label sees the surface chemistry, not the product description in the catalog.
Keep the container change separate from the label change
Suppose the existing glass vial is being replaced by a plastic sample. Keep an untouched old-vial control with its approved label. Record the new supplier reference and resin separately; do not let 'amber vial' become the material description. If that information is unavailable, purchasing has a specific question for the container supplier before the adhesive discussion can be useful.
The useful comparison has four possible pairings: old label on old vial, old label on proposed vial, proposed label on old vial, and proposed label on proposed vial. Not every project needs all four. Their purpose is to make the change visible. If both the bottle and label construction change at once, a good or bad outcome cannot automatically be assigned to either one.
Use identified samples and the intended label size, seam, application condition and relevant handling route. Keep the dwell and review times agreed with the supplier. Record the observed edge, movement, appearance and operational-field condition rather than a bare pass mark. These are planned comparison cells, not results that can be filled from an adhesive data sheet.
A failure on both containers may point toward the proposed construction or application method. A failure only on the replacement deserves a closer surface and geometry review. Those are leads for investigation, not proof of a single cause. A new vial can also change the usable wall or stiffness requirement, even if its catalog capacity matches.
One shared label specification can still be the right purchasing decision if it meets the approved requirements on both containers. Separate constructions are reasonable when the evidence supports different needs. The completed matrix should say exactly which container reference and label revision are covered, which remain on hold, and who accepts a future substitution. Send those references with the physical vials and the quantity per design; a photo alone cannot carry the previous approval across.
Download the worked example CSV · Open the working CSV · Read the field guide. The entries are planning examples, not completed results.
Why glass often behaves differently
Clean glass is generally a higher-energy surface, so pressure-sensitive adhesive can wet out and form a strong bond more easily. That does not mean every glass vial is simple. Coatings, silicone, dust, fingerprints and condensation can interrupt contact.
Glass also shows every bubble and misalignment when a clear label is used. If the visual goal is a no-label look, application cleanliness becomes part of the design specification.
Why plastic needs a more specific answer
PET often offers more favorable adhesion than PP or HDPE, while lower-energy plastics can be more difficult. Additives may migrate to the surface. The wall can flex under pressure, and molded seams or taper can keep the label from sitting flat.
A generic permanent adhesive may hold during the first photograph and begin lifting after the label has spent time pulling against the curve. Initial tack and long-term mandrel hold are not the same test.
Buying rule: never approve a label for "plastic vials" as a category. Name the resin, send the actual container and test the final label size around the real diameter.
Curvature is the second material
A small vial continuously tries to straighten the label. A thick or stiff facestock stores more force, especially at the leading and trailing edges. That is why a beautiful heavy label sample on a flat sheet may become an edge-lift problem after application.
Film labels are often useful because they can conform well and resist moisture. Paper can still work in dry applications when the construction is thin and the adhesive is appropriate. The decision belongs to the full construction: face material, ink, finish, adhesive and liner.
A typical supplier mistake
The buyer asks for "stronger glue," and the supplier simply moves to the most aggressive adhesive on the list. That can mask the real problem. The label may be too tall for the straight wall, too stiff for the radius, applied over condensation or wrapping across a molded feature.
More adhesive strength does not correct a bad shape. First map the straight-wall area and seam. Then choose the facestock and adhesive. A controlled overlap may help some demanding small-diameter applications, but it must be designed rather than discovered on the production line.
Application condition matters
Pressure-sensitive labels normally need clean contact and time to build adhesion. Applying to a cold wet vial is different from applying at room temperature and then placing the vial into refrigerated storage. The service temperature and application temperature are separate questions.
If the vial is filled before labeling, note whether the surface develops condensation. If operators handle it by hand, define cleaning and pressure. For machine application, confirm dispensing speed, wipe-down and roll direction.
How I would test the sample
- Use the actual glass and plastic containers, not a flat panel.
- Apply production-size labels with the planned seam and artwork coverage.
- Record surface preparation, application temperature and operator or machine method.
- Allow the specified dwell before judging the bond.
- Run the intended cold, moisture, handling and transport cycle.
- Inspect both edges, the overlap or gap, print rub and any movement.
A sample that survives the real cycle is more valuable than an adhesive name copied from another project. Keep the approved vial, label construction and test notes together for reorders.
Artwork still changes performance
A fully flooded dark design may hide small bubbles but show scuffing. A clear label needs controlled white ink to keep small text readable. Metallic or heavy laminate choices can add stiffness. The graphic file is therefore not separate from engineering.
Leave the seam away from the main logo, QR code and critical text. Do not position a barcode where the tight curve makes scanning unreliable. The label should work as a designed product, not a rectangle forced around a bottle.
Vial comparison checklist
- Container material: glass, PET, PP, HDPE or other
- Diameter and usable straight-wall height
- Surface coating, treatment or known additives
- Filled or empty condition during application
- Application temperature and expected condensation
- Storage temperature, humidity and handling
- Hand or machine application
- Final label size, gap or overlap and finish
Bring the decision into your print brief
Use the identified references and open items in the worked record when discussing your custom print project. Include the actual package, artwork revision, quantity per design and the conditions explained above; leave unknown inputs marked for confirmation. Review the relevant custom-label service, then send the project details to RP Labels.
Related buying decisions
- Peptide Vial Label Adhesive Guide: How to Stop Edge Lift on Small Glass Bottles
- HDPE Supplement Bottle Labels: Check the Plastic Before Choosing Adhesive
- 3 mL Vial Label Size: The Bottle Still Needs Measurements.
Sources and scope
Reviewed October 25, 2026. Primary supplier or official reference supports the identified production concept. Procurement comparisons and worksheets are editorial guidance. Conditional examples are not customer records, completed tests, regulatory approval or universal acceptance standards. Confirm the actual proposed construction and process with the responsible supplier and buyer. Demand layer: competitor and process pages linked here, including Avery, HERMA or OnlineLabels where cited, illustrate buyer language and process topics only. They do not supply RP minimum quantities, lead times, prices, certifications or materials. Authority layer: an RP number is backed only by a factory datasheet, a signed quote or proforma, confirmed product data, or a fact kept on the About page. The March 2026 proforma there is one production-run example, not a standing offer. RP shipping and planning pages describe what to confirm on a quote. Worked figures on this page are fictional unless an authority source is named for them.