A first run of a few hundred research vials often looks too small to justify an automated line. The labels arrive on a roll, and the team plans to apply them by hand. That can work. The missing purchase question is how the first, tenth and hundredth vial will end up with the same label position.
Before discussing finish or artwork, I would put three things on the table: the actual empty vial, the printed label at finished size, and the fixture or surface the operator will use. A glossy render does not tell you whether the label starts straight, avoids the cap shoulder or leaves the seam where your reader expects it. A small alignment error is visually large on a small bottle.
Define a starting reference
Choose one physical reference that everyone can repeat: the bottom of the cap, a shoulder transition, or a fixed stop on a bench jig. Avoid "roughly centered" as the only instruction. Measure the usable straight-wall area on several vials from the production batch, not only one perfect sample. The edge of the label should have enough clearance that a slight variation does not push it onto a curve.
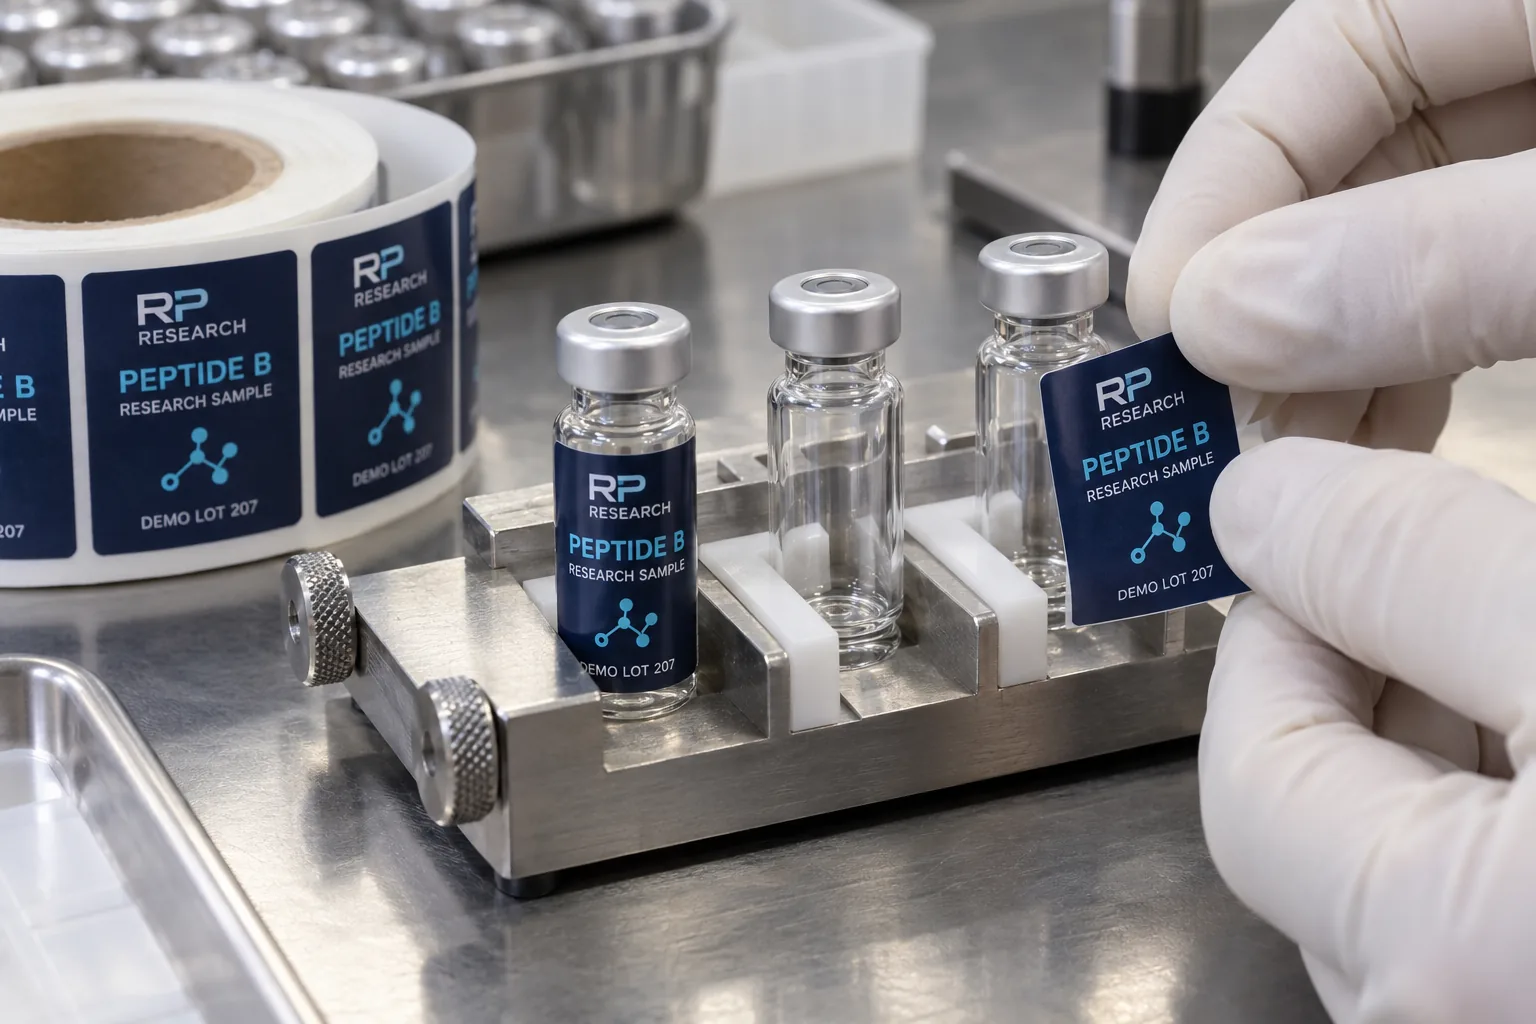
A simple cradle can hold the vial steady while the operator presents the leading edge. It need not be sophisticated, but its contact points should not hide the label seam or scratch the container. Apply several labels in normal working posture and then set the vials in the planned tray. Look for lifting corners, tilted horizontal rules and a seam that falls under important text. If the label includes a code, check it from the real scan angle rather than only flat on the liner.
Specify the roll for the person applying it
HERMA describes manual dispensers as devices that unwind a label reel, separate labels from the backing and rewind the liner; some can also print changing data. That is useful for short runs, but it does not decide your roll orientation. Tell the printer whether the operator pulls labels from a dispenser or peels them directly from the roll. Confirm which edge emerges first, where the artwork faces, the core size and any gap requirements.
Compare a bare roll and the chosen dispenser during a real trial. A narrow die-cut label can curl if it is peeled awkwardly. A liner that tears or clings slows the process and makes the operator touch the adhesive. The question is not merely whether one label can be applied; it is whether a sequence can be applied consistently without touching a code, folding an edge or switching orientation midway.
Run a small repeatability check
Ask two people who did not design the label to apply ten each using the same short instruction. Lay the finished vials side by side. Compare top and bottom clearance, seam placement and readable identity. Count failures by type and keep the rejected examples. This is a buyer-run acceptance exercise, not a published RP yield claim. The pass criteria should be chosen for the customer's container and workflow before judging the run.
If the label has variable data, separate print verification from placement verification. A perfectly straight label can still carry the wrong lot. Conversely, a correctly printed roll can be applied to the wrong group of vials. Put a clear changeover check between batches and keep the printed data proof with the roll. Our roll-direction guide covers the unwind questions in more detail.
Brief the converter with the workflow, not just the PDF
Send the vial sample, finished label dimensions, face material preference, quantity by artwork, intended dispenser or hand-peel method, roll orientation and jig reference. Ask for a small production-representative sample on the exact vial. If labels will later move to an automatic applicator, say so now; a roll optimized solely for hand-peeling may not be the ideal machine-roll specification.
The picture is an AI-generated demonstration of a jig and full-color RP Research label, not evidence of tested throughput. I would approve a short-run custom label when an ordinary operator can make it look repeatable with the provided setup. That is more useful than a photo of one flawless vial selected from a box.
Sources and scope
Reviewed October 7, 2026. The primary references linked below support the identified technical points. Buying scenarios and inspection checklists are editorial guidance, not RP production records, certification, legal approval or universal acceptance standards. Demand layer: competitor and process pages linked here, including Avery, HERMA or OnlineLabels where cited, illustrate buyer language and process topics only. They do not supply RP minimum quantities, lead times, prices, certifications or materials. Authority layer: an RP number is backed only by a factory datasheet, a signed quote or proforma, confirmed product data, or a fact kept on the About page. The March 2026 proforma there is one production-run example, not a standing offer. RP shipping and planning pages describe what to confirm on a quote. Worked figures on this page are fictional unless an authority source is named for them.