Rounded Vial Label Corners: Compare the Cut Before Buying a New Die
A label corner catches a glove and the immediate request is a rounder die. That may be the right answer. In this hypothetical trial, however, the second sample also uses a thinner film and a shorter wrap. If it behaves better, the buyer still does not know whether the new die deserves the credit.
A new die is an appealing answer because it is a thing purchasing can order. The more useful answer may be less tidy: compare two cuts, watch the same edge and find out whether the problem is the tip or the whole wrap. I would spend the small trial on that distinction before committing the range to another shape.
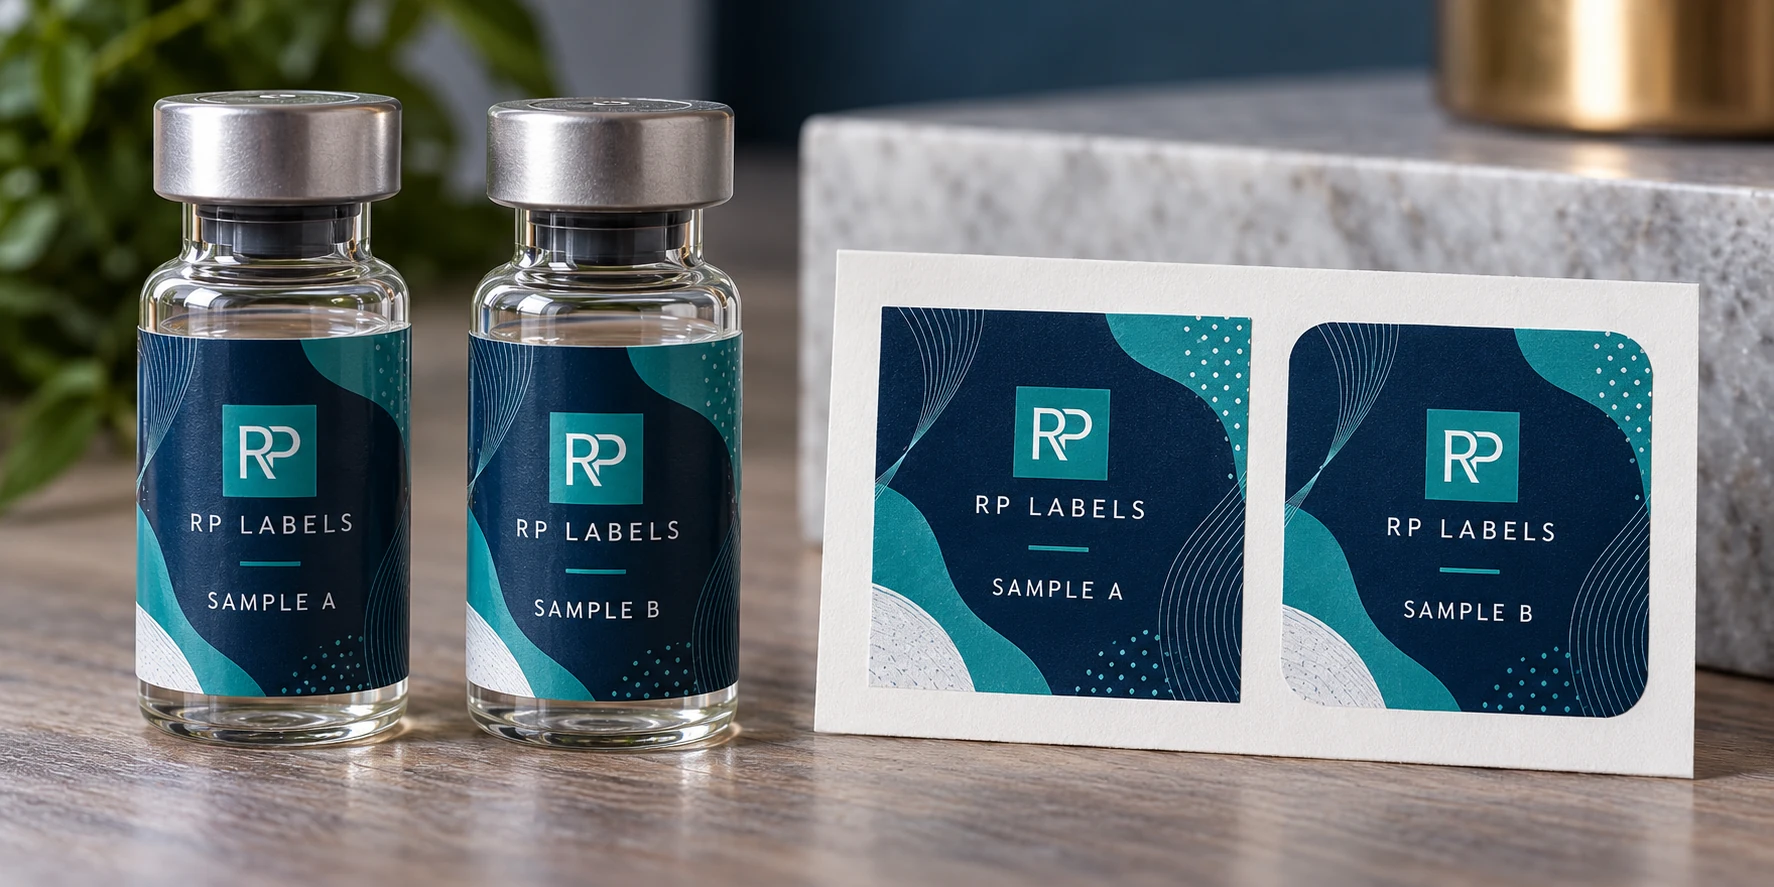
AI-generated packaging illustration. Fictional RP samples show the proposed decision; no physical test or customer order is documented.
Keep the corner comparison interpretable
Give the two candidate cuts separate references and keep their shared specification visible. Use the same vial, finished width and height, identified construction and application process where the comparison allows. If one of those has to change, record it as another variable rather than calling this a corner-only test.
The worked record includes a square candidate and a rounded candidate with observations left open. Photograph the same edge after the agreed application and handling stages. Record whether the tip catches, whether a larger edge lifts and whether the wrap stays clear of the shoulder. A lifting strip along the whole edge asks a different question from a single sharp point that snags.
Check the lost artwork area too. A rounder corner can remove a useful sliver of space on a very small label. Put the actual longest identifier and any code on the cut proof, keeping the required safe area. If the proposed radius protects handling but clips information, revise the layout or dimensions before ordering tooling.
An existing supplier die can be a sensible choice for a short run when it fits the measured vial and leaves the content readable. A dedicated die may be worthwhile for a stable repeat range. Neither decision should depend on a universal radius copied from a picture. Ask the converter which candidate can be sampled and what the die charge would cover.
Send RP Labels the two profiles, actual vial, finished construction and the specific snag or lift observation. This is the corner decision; it does not replace adhesive selection or the full cold-handling review. The useful result is an identified cut with a recorded reason to choose it.
Start with the straight wall, not the nominal vial volume
Two vials both sold as 2 ml may not offer the same straight wall. A tall shoulder, thick base or different diameter changes the usable label area. Measure the actual glass between shoulder and base and mark where the wrap seam will land. If the label is pushed onto a curved shoulder, changing the corner radius at the opposite end will not solve the problem.
HERMA's guidance on labeling curved surfaces emphasizes flexible materials and appropriate initial and final adhesive tack for small radii. Avery Dennison's facestock guide likewise treats small diameter and container shape as selection inputs. Neither source gives a universal corner-radius number for your vial. That number belongs in a sample trial.
Test the cut in the planned application process
Prepare two otherwise identical samples. Keep the artwork, label width, material, adhesive, glass and application pressure the same; change only the corner profile. Apply them by the method you will actually use. Hand placement can put a little extra pressure on an edge that an automatic applicator will not, while a machine may reveal an unwind or positioning issue that hand application hides.
Look at the ends immediately after application, after the label has had its expected dwell time, and after the handling sequence that matters to the buyer. Photograph the same edge each time. If both profiles lift, revisit the film stiffness, surface preparation, adhesive and total wrap length before commissioning another die. If only a sharp tip catches, a radius may be a useful mechanical change.
Protect copy from the rounding and the overlap
Rounding removes printable corner area. Keep a safe inset for tiny lot text, QR artwork and color bands. A code's quiet area should not be trimmed by the die. At the other end, do not place important characters on a seam that can shift slightly as labels are applied. The buyer should review the proof as a wrapped object from front, side and seam views, not as a rectangle on screen.
There is also a tooling decision. A custom rounded die may be sensible for a recurring vial range, but a short trial order may be better served by a supplier's existing size and radius if that size leaves enough safe artwork space. Ask which dimensions are standard, which need new tooling, and whether the same cut can be reused across color variants. Do not trade away the required copy area just to avoid a one-time die decision.
When requesting a quote, send a photo or sample of the real vial, the intended finished width and height, two corner options if uncertain, the material preference, the application method and the handling conditions. Ask for an applied proof on the actual container. The result should be a small repeatable decision about edge behavior, not a promise that rounded corners alone prevent lifting.
Sources and scope
Reviewed October 3, 2026. The primary references linked below support the identified technical points. Buying scenarios and inspection checklists are editorial guidance, not RP production records, certification, legal approval or universal acceptance standards. Demand layer: competitor and process pages linked here, including Avery, HERMA or OnlineLabels where cited, illustrate buyer language and process topics only. They do not supply RP minimum quantities, lead times, prices, certifications or materials. Authority layer: an RP number is backed only by a factory datasheet, a signed quote or proforma, confirmed product data, or a fact kept on the About page. The March 2026 proforma there is one production-run example, not a standing offer. RP shipping and planning pages describe what to confirm on a quote. Worked figures on this page are fictional unless an authority source is named for them.
- HERMA: labeling small-diameter curved surfaces - Avery Dennison: choosing a film facestock for container shape
Worked corner radius trial record
The rows below are hypothetical planning examples. Empty observation or commercial fields must be completed from the actual project; no sample has been tested for this article. Use the worked CSV and blank worksheet with the field guide. Keep the example references separate from production records.
| candidate | corner profile | shared construction | shared dimensions | handling stage | tip observation | edge observation | artwork clearance | decision |
|---|---|---|---|---|---|---|---|---|
| DEMO-S | Square | Same identified construction | Same proposed width and height | Actual method required | Review longest content | PENDING | ||
| DEMO-R | Rounded; radius to specify | Same identified construction | Same proposed width and height | Same comparable method | Review removed corner area | PENDING |
Bring this decision into the print inquiry
Contact RP Labels with the completed corner radius trial record, the actual packaging reference, approved artwork and quantity per design. State which fields remain unresolved so the print specification and any relevant sample scope can be discussed against the same decision.
Related buying guidance: Peptide Vial Labels; Measure the printable wall; Choose an adhesive; Clear the cap and shoulder.