Laser or Mechanical Die Cutting? Compare the Finished Label Edge
We can die-cut labels to a custom shape, including a shape that follows your logo outline, when the artwork and size are suitable for converting. Tooling, if required, is confirmed on the written quote. Custom die-cut shapes and certain print or foil processes may require tooling or plate/die charges. Whether a charge applies, how it is billed, and whether it can be reused on a reorder is confirmed on the written quote.
Ask whether the label outline will be cut with a physical die or a programmed laser path, then compare both offers against the same finished construction and dispensing requirement. A changed outline may make a file-driven trial worthwhile. A stable shape may favour a physical die that the converter can identify and reuse. The accepted edge and liner condition should drive the choice.
Name the tool and the cut depth separately
A mechanical die uses a cutting edge shaped for the job. A laser system can follow a programmed path without a shape-specific physical die. Either quote should say what is cut, what remains intact and how the labels are delivered. For a pressure-sensitive roll, the intended result may be a cut through the printed face and adhesive with a continuous liner left for the applicator.
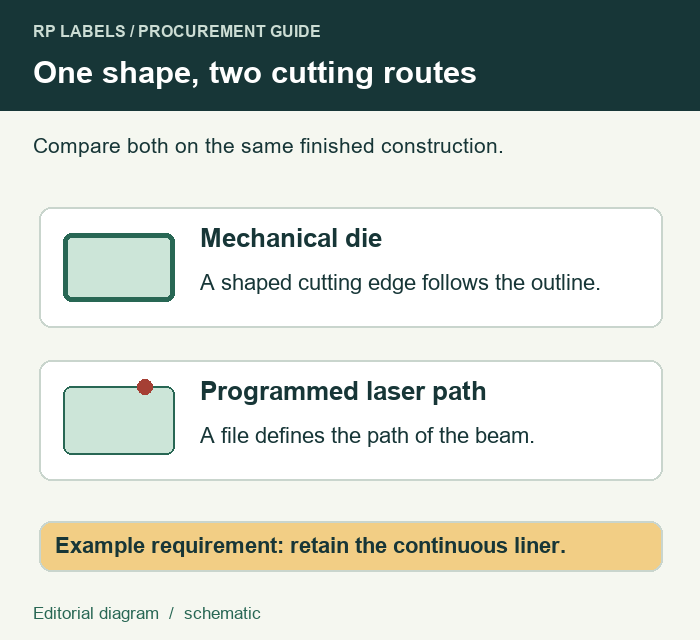
CARTES documents separate laser and semi-rotary die-cutting options and discusses visible edges on dark printed labels. RotoMetrics' flexible-die request form asks for fields including the cut type, label dimensions, corner radius, liner, face material and lamination. Those examples explain why the converter needs the full construction and the cut target before offering a process. CARTES finishing system and RotoMetrics flexible-die request form.
Compare the sample on the intended roll
Send the approved shape, tight corners or narrow points, the darkest artwork near the edge, material and finish references, and the hand or machine application method. Ask for samples that represent each proposed route. An outline cut on a plain face can prove dimensions while leaving edge appearance on the dark printed or laminated construction open.
On the finished roll, check the cut outline against the drawing, inspect the edge under agreed lighting, and confirm that the label releases with its intended shape intact. Where the liner must run through an applicator, ask the packer to verify that the proposed roll dispenses under its normal conditions. Compare the liner and peel response as well as the view from the front.
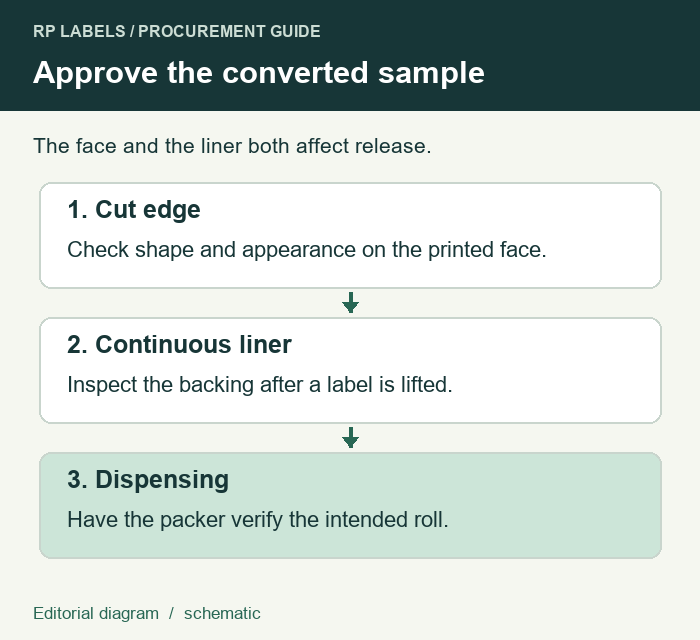
A visible light or altered edge on one specimen should go back to the converter with the stock, artwork and sample reference. If the label does not release cleanly or the liner is damaged, pause roll approval and ask which cut specification or process needs to change. The kiss-cut versus through-cut guide covers the separate question of which parts of the backing remain in the delivered format.
Recheck the edge if the sample uses a different cutting route
Before paying for another sample, ask the converter to identify the prototype's cutting route and the intended production route on the same drawing revision. A prototype may be sufficient to check panel fit, while approval of the production cut depends on its own sample. If the route changes, keep the fit decision on record and reopen the checks that could change with the cut. Compare the same artwork and material stack so an edge difference is easier to interpret.
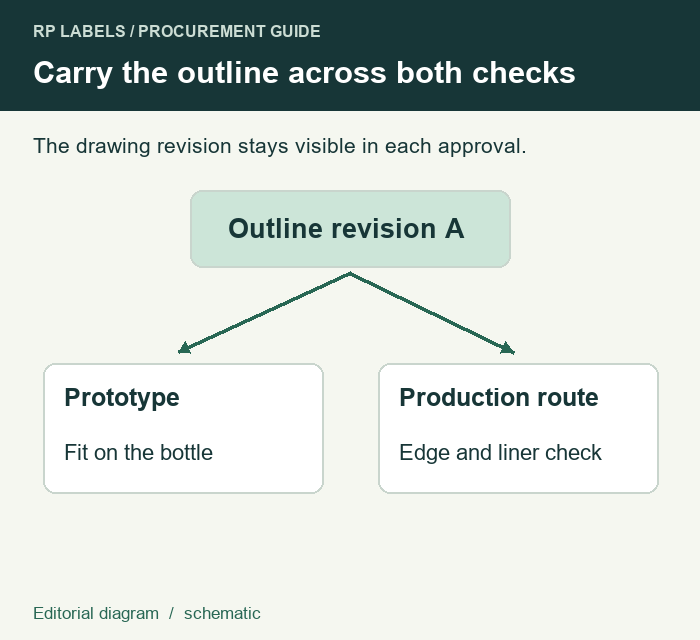
Ask for an identified production-route specimen that includes the darkest printed edge, tightest corner and any narrow detail on the approved shape. Use the actual liner, adhesive and finish. Avery Dennison's bulletin on converting thin film liners explains why die-cut condition and liner integrity matter for that construction. A dark edge may need visual review while liner condition and release need a separate physical check. If the format is a machine roll, have the packer evaluate dispensing from the proposed final roll.
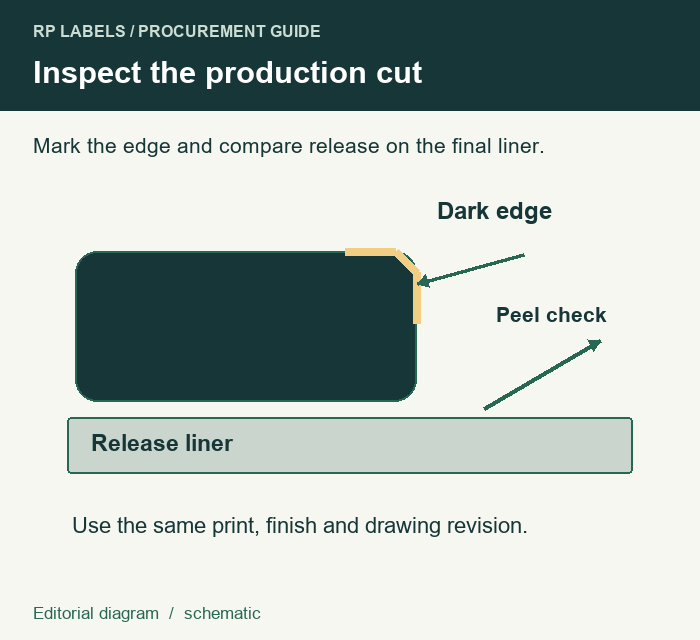
When both routes produce the same outline and the production specimen meets the agreed appearance and release checks, record the production method and specimen reference on the approval. If only the prototype is available, record which decisions it supports and keep production-cut acceptance open. If a route change coincides with a different liner or finish, list both changes and review the combined production specimen before authorizing the order.
Ask which costs recur after a revision
Request the actual setup, cutting, trial and tooling lines for each quote at the same quantities and delivery format. For an existing die, ask the converter to identify the tool and confirm that it fits the current outline and construction. For a file-driven route, ask which setup or sample work applies when the outline changes. Include those answers in the first-order and reorder comparison. The tooling and reorder guide lists what to confirm about retained tools and future charges.
Send the final shape and the acceptance sample request
Prepare an RP Labels inquiry with your shape revision, named face and liner, print and finish, quantities per design, application method and cut-through or cut-to-liner requirement. Ask which route can be quoted and request a sample with the edge and liner checks you need. Keep the approved construction and cut reference together for the order.