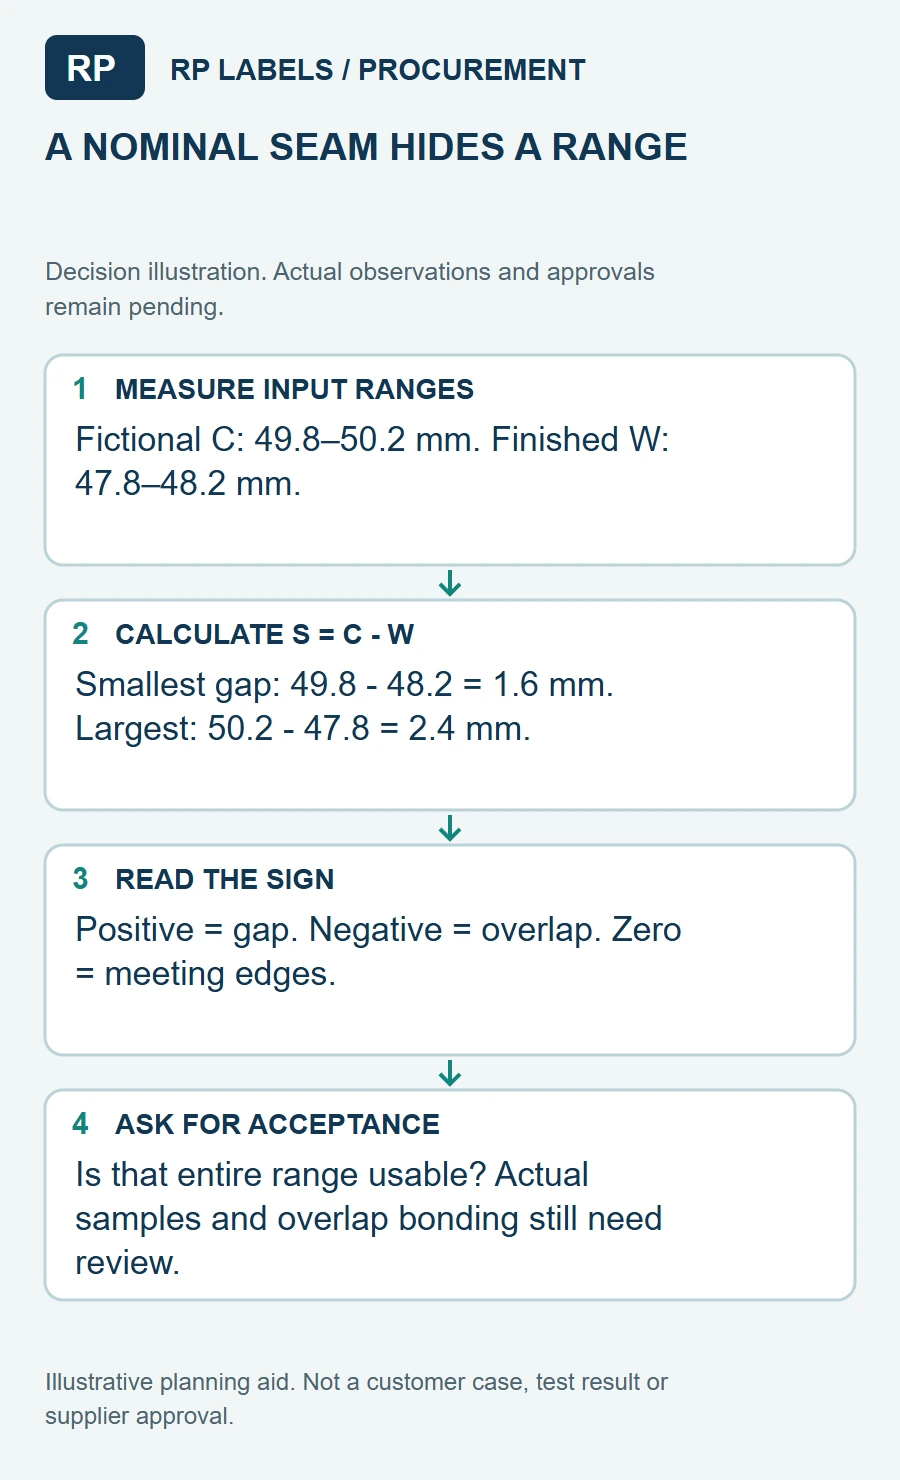
The short answer: use a planned gap when you want visible glass and easier application tolerance. Use a controlled overlap when the material and adhesive benefit from a secure wrap and the seam does not hide critical information. Avoid designing an exact edge-to-edge meeting unless the bottle and application process can hold the required tolerance.
If an overlap is chosen, a small controlled overlap is set during layout and must be confirmed on the actual container. This site does not treat any single overlap width as a universal standard.
Three seam choices
| Planned gap | Leaves a strip of visible glass between the label ends. It tolerates small placement variation and avoids bonding the trailing edge onto printed material. |
|---|---|
| Edge to edge | Creates a nearly closed wrap without a raised overlap, but small changes in bottle circumference or placement can turn the meeting line into a gap or unintended overlap. |
| Controlled overlap | Extends the trailing edge over the leading edge. It can support mandrel hold, but the label-to-label bond and printed overlap area must be tested. |
There is no prize for hiding the seam completely. The right seam is the one that stays flat, preserves the information hierarchy and can be repeated in production.
The clean prototype and the busy production line
Overlap does not repair every lifting problem
An overlap can let part of the trailing edge bond to the label surface instead of the glass. That may help a tight wrap, but the result depends on the surface it touches. Ink coverage, laminate texture, varnish and release contamination can change the bond. A glossy printed area is not automatically the best landing zone.
If the face stock is too stiff, the glass is damp or the label reaches into the shoulder curve, adding width can make the problem larger. The label system includes face material, adhesive, size, container, application pressure and temperature. The seam is one lever, not a repair service for the rest.
Buying rule: choose the seam by production tolerance and performance, not by the desire to make the back of a vial look invisible in a photo.
Measure the usable vial, not the nominal volume
Two vials sold under the same volume can have different diameters, wall shapes and straight-label areas. Measure the actual production container. Record circumference at the intended label height and keep the label away from the shoulder and base radius where full adhesive contact is lost.
Then decide the seam. Label width follows from the measured circumference plus or minus the planned gap or overlap. Do not begin with a generic width and ask the glass to accommodate it.
A paper strip is useful for early fit. It shows where the front panel lands and whether the seam covers a viewing area. It does not test edge lift. For that, use the final or production-equivalent construction.
Keep critical information away from the seam
- Place the product name and primary identifier in the stable front-facing zone.
- Keep QR codes and barcodes away from the trailing edge and extreme curve where scan angles become difficult.
- Do not split a batch field across the seam or place handwriting where an overlap creates a ridge.
- Allow enough safe area that normal application variation does not move critical text behind the vial.
- Mark the seam position on the digital proof so approval is explicit.
A useful seam test
- Apply at least several labels to production vials using the real method.
- Inspect gap or overlap consistency rather than judging one perfect sample.
- Check the trailing edge after adhesive dwell and the expected storage cycle.
- Rotate the vial under normal light and confirm all critical information remains visible.
- Scan every code from realistic angles on the applied vial.
- Pack samples as they will ship and check seam rubbing or edge contact.
What to send for the quote
Vial seam brief
- Actual vial diameter, circumference and usable straight-wall height
- Clear photos with a ruler at the intended label position
- Desired visible-glass area or overlap objective
- Front panel, QR, batch field and viewing-window priorities
- Face stock, finish, storage and wipe requirements
- Hand or machine application and expected placement tolerance
- Roll direction, core and gap if labels run on equipment
- Quantity per artwork version