Vial Label Height: Leave Room for the Position the Line Can Actually Hold
The designer has found room for the last line of copy. The label fits between the shoulder and the base in the approval photograph. Then the packer asks where its upper edge is supposed to land.
That question can reopen the artwork. A photograph of one carefully positioned label does not tell the buyer how much placement variation the container can accommodate. In this hypothetical order, purchasing is about to approve a height while the application team is still working out the position.
I would settle those two decisions together. Buy a label height that fits the agreed placement range on the actual capped vial, with any required viewing area preserved. If the range has not been established, keep the fit decision open rather than filling the gap with a standard clearance copied from another bottle.
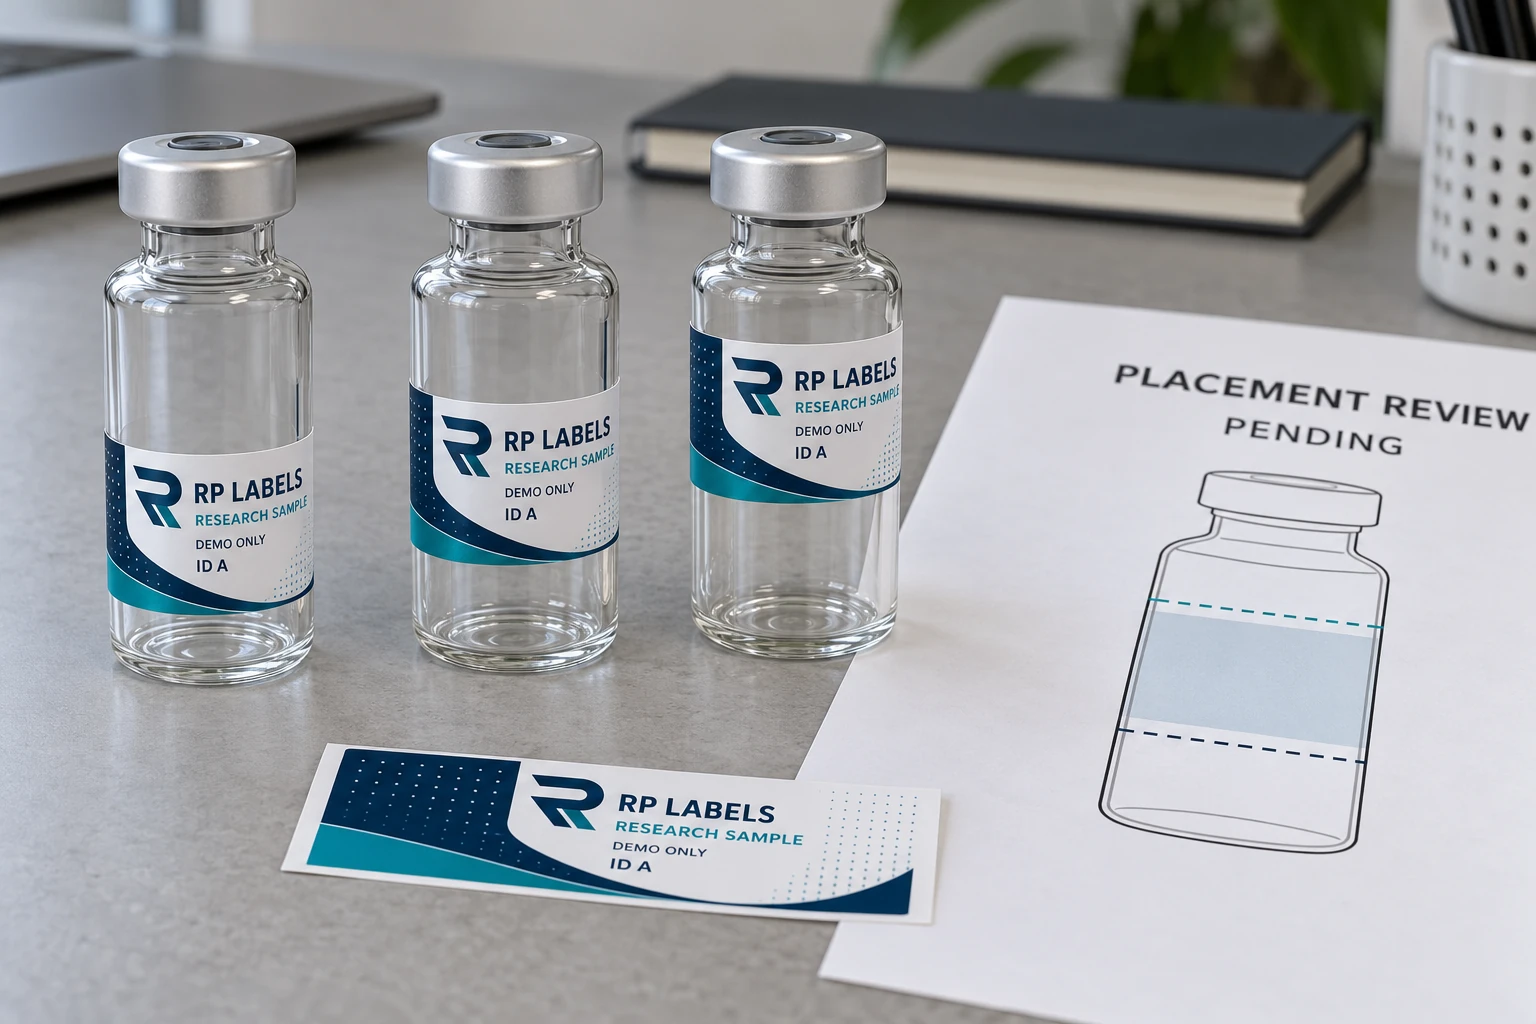
AI-generated packaging illustration. The RP sample layouts show proposed placement review, not measured production variation, an approved fill-level scale or a completed fit trial.
Start with the capped container that purchasing will receive
Name the vial manufacturer, container reference and closure. Obtain the relevant drawing and a physical sample. Capacity alone is too loose a description: the shoulder, base curve and closure can leave different amounts of useful wall on containers sold at the same nominal volume.
Ask the packer to identify the usable lower and upper boundaries on that sample. Use one agreed reference point for vertical measurements, such as the supporting base plane, and record how the reference is taken. A dimension measured from the top of a cap cannot be compared directly with one measured from the glass base.
Keep geometric clearance and visibility requirements separate. The straight wall might accept a label where the buyer needs a clear inspection window. Conversely, transparent film may still obscure that window if the artwork includes white ink or a dark panel. Mark the required visible area on the applied proof; do not let the material name decide it.
HERMA's vial-labeling overview identifies precise positioning as relevant to functional vial labels. It does not supply a universal clearance for your container. The buyer and application owner still need to establish the boundaries for this order.
Turn the proposed height into a placement window
Once the usable band is agreed, ask where the label's bottom edge may land. Its top edge must remain inside the upper boundary at the highest permitted position. Its bottom edge must remain above the lower boundary at the lowest position. Check the whole wrap, since a slanted application can put one corner higher than the front view suggests.
Here is a fictional arithmetic example, not an RP measurement or an equipment capability. Suppose the usable wall extends from 5 to 26 mm above an agreed datum. A proposed 16 mm label could fit geometrically with its bottom between 5 and 10 mm. A proposed 20 mm label would leave only a 5 to 6 mm bottom-position window, before any additional project allowances.
That smaller window may be acceptable to a controlled application process. It may also be unrealistic for another process. The numbers alone cannot decide. The line owner must confirm the required allowances and the placement range the actual arrangement can support; the buyer then reviews the applied samples.
If the packer proposes a bottom position ranging from 6 to 9 mm, the 16 mm candidate fits inside the example's geometric band. The 20 mm candidate does not fit throughout that proposed range. Neither candidate is approved by this calculation. It identifies which question needs resolving before a physical trial.
Give the taller label a fair chance
More height can preserve readable copy or a useful code area. A taller label may be the better purchase when the container provides enough room and the application process can place it consistently. Reducing height first can create an unnecessary typography problem.
The shorter label has a different advantage: more room to position the wrap without approaching the shoulder or base. It may suit a less constrained application arrangement, provided the required content remains readable. Compare actual full-size artwork, including the longest product name and the real variable-data area, before accepting that trade.
If neither option works, the decision may involve the container, layout or application setup. Ask who owns that change and what must be reviewed again. Stronger adhesive does not create more straight wall. A second dieline can be reasonable where a shared one would force an unsuitable compromise across two vial references.
Ask for a series of placements, not one perfect photograph
Have the application owner propose how to evaluate the intended position and its relevant extremes, using the actual capped container and planned method. The sequence, sample quantity and acceptance criteria belong to that owner and the buyer. This article supplies no universal tolerance or sampling plan.
Record the sample reference, intended position, actual observed position when measured, any slant and the upper and lower clearances. Photograph the front, opposite side and seam. Keep unmeasured values blank. Review the viewing area and information visibility at the same time, without treating a visual check as barcode verification or an adhesive durability result.
The worked placement record contains the two fictional arithmetic candidates above. The blank record and field guide connect the datum, usable boundaries, proposed height, application owner's range and unresolved approval. Observed positions and fit approval remain pending.
Keep the height decision connected to the rest of the specification
This record addresses vertical fit. Use the vial size guide for the broader measurement brief and the gap-versus-overlap guide for the wrap seam. A shared design for different closures also needs the actual container comparison in the screw-cap and crimp layout guide.
Material behavior is another decision. A label staying within the geometric band does not establish that the construction will remain attached under the required handling conditions. Preserve the chosen container and position references when requesting the relevant material samples, so the next review does not silently change the fit you just settled.
For custom vial labels, send RP Labels the capped vial reference and placement record, proposed dimensions, artwork revision and quantity per design. Identify who will confirm the application's position range and which viewing area must remain clear. The useful approval is a label height and placement arrangement the buyer, printer and packer can all identify.
Sources and scope
Demand layer: competitor and process pages linked here, including Avery, HERMA or OnlineLabels where cited, illustrate buyer language and process topics only. They do not supply RP minimum quantities, lead times, prices, certifications or materials. Authority layer: an RP number is backed only by a factory datasheet, a signed quote or proforma, confirmed product data, or a fact kept on the About page. The March 2026 proforma there is one production-run example, not a standing offer. RP shipping and planning pages describe what to confirm on a quote. Worked figures on this page are fictional unless an authority source is named for them.