Supplement Bottle Label Size: Release the Dieline Against the Actual Bottle
The bottle supplier sends a drawing, the designer finishes the label, and a production sample arrives with a slightly different shoulder. In that hypothetical launch, the artwork may still fit on screen while the top edge lands on a curve. The sensible next step is a bottle-to-dieline release record, before anyone treats the label width and height as final.
The designer has already spent time balancing the front panel. The packaging coordinator has a bottle in hand and a launch date on the calendar. Cutting a fresh paper wrap feels like going backward, but I would do it before paying to preserve a layout that depends on the wrong shoulder. Keep the attractive design; reopen the dimensions that support it.
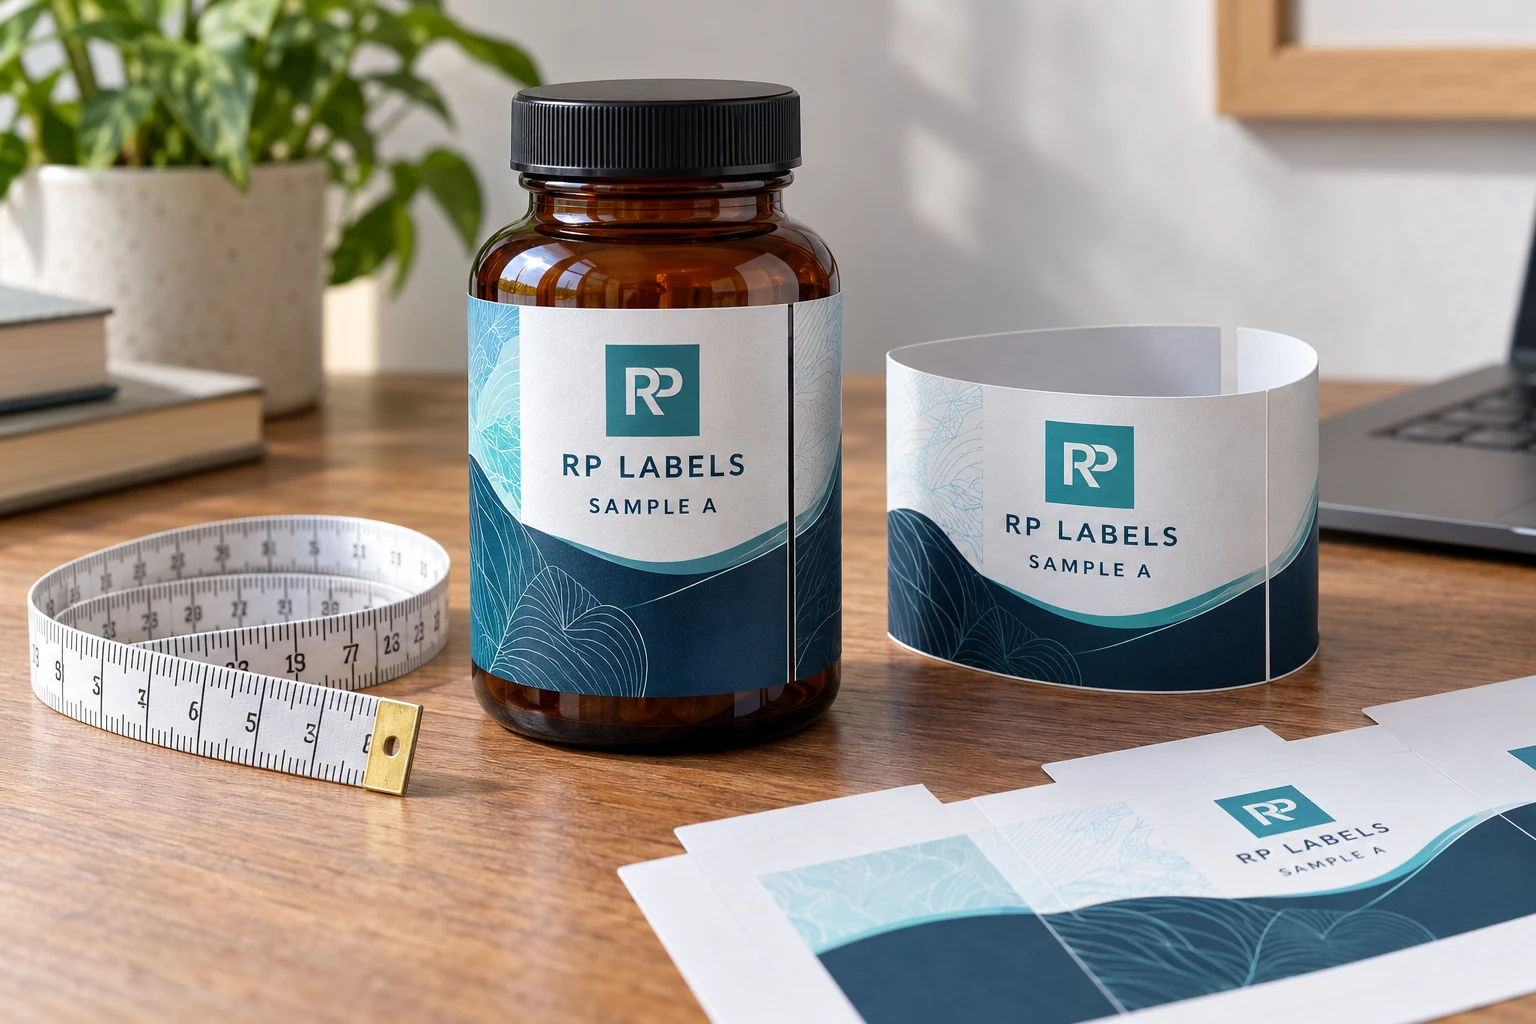
AI-generated packaging illustration. Fictional RP samples show the proposed decision; no physical test or customer order is documented.
Keep the measurement tied to the bottle revision
Put the bottle supplier, item reference and sample reference at the top of the worksheet. A photograph is useful, but it should show the exact container being measured. Record where the circumference was taken and where the straight wall begins and ends. If several samples differ, retain the observations rather than choosing the most convenient measurement. The responsible packaging owner must decide whether that variation changes the usable area.
Here is a planning example, not a production dimension: a measured wrap of 150 mm and a proposed 3 mm gap suggest a 147 mm trial width. That arithmetic establishes only a paper-mockup candidate. It does not establish an allowable placement tolerance, adhesive performance or the width of a tapered label. Wrap the candidate at the intended height and inspect both edges before sending it to prepress.
The worksheet has a separate field for the proposed size and the released size. This matters when someone measures the bottle correctly but the designer later enlarges the label to fit another paragraph. Any dimension change should return to the same bottle check. The final record should name the artwork revision and include a front, back and seam photograph of the accepted mockup.
An unchanged repeat bottle with a controlled supplier reference may need a focused confirmation rather than a complete redesign. A new supplier offering the same nominal capacity deserves a fresh fit review. If the shape is tapered or recessed, stop using the cylinder calculation as the final answer and ask for a suitable dieline. The purchasing handoff is then clear: this bottle, this application zone and this approved cut, with unresolved variation explicitly stated.
Step 1: find the true application zone
Place the bottle upright and identify the section that remains the same diameter from top to bottom. Do not include the shoulder below the cap or the rounded heel near the base. If the container has molded ribs, a recessed panel or a seam, note those features because they can change placement and adhesive contact.
Measure the straight-wall height in millimeters. The label can be shorter than this area; it should not automatically use the full height. Leave enough visual and production tolerance so normal placement variation does not push an edge onto a curve.
Step 2: measure the circumference
Wrap a flexible measuring tape or a narrow paper strip around the intended label line. Keep it level and mark the point where the ends meet. Measure the strip flat. This physical method is more reliable than relying on a catalog diameter when the bottle is slightly tapered or oval.
For a truly cylindrical bottle, the planning formula is:
The formula is a starting point, not a substitute for a wrap test. Mold variation, taper and the exact measuring line can change the usable result.
| Bottle shape | Measurement approach |
|---|---|
| Straight round cylinder | Measure the circumference with a strip; diameter x pi can be used as a cross-check. |
| Tapered bottle | Measure at the exact label height and avoid treating the top and bottom diameters as equal. |
| Oval bottle | Use a flexible wrap measurement and prepare artwork for the front, side and back panel transitions. |
| Recessed label panel | Measure inside the recess and keep all edges away from the raised boundary. |
Step 3: decide on a gap or overlap
A small gap keeps the closing edges apart and can make manual or machine application easier to inspect. An overlap can hide a gap, but it creates an adhesive-to-label contact area and may cover part of the design if placement shifts. Neither choice is automatically correct. Decide intentionally and test it at full size. If an overlap is chosen, a small controlled overlap is set during layout and must be confirmed on the actual container. This site does not treat any single overlap width as a universal standard.
Record the final gap or overlap in the production specification. Otherwise a future reorder may use the same artwork with a different finished width and change the appearance of the bottle.
Step 4: reserve real space for information
A label can fit the bottle and still fail as packaging because the layout is too crowded. Map the front brand panel, product identity, buyer-approved information, barcode or QR area, and any variable batch field before decorating the remaining space. The printer can help organize the layout, but regulatory content must be approved for the target market by the brand's qualified reviewer.
Barcode placement needs a flat, calm panel
Do not push the barcode into the bottle's tightest side curve, a seam or a strongly reflective design area. Give it a stable high-contrast background and enough quiet space around the bars. Print the code at final size and scan it on the filled or representative bottle, not only as a flat PDF.
If the label will be laminated, varnished or printed on metallic film, include that finished construction in the physical scan test. A screen preview cannot show every reflection or curve effect.
Tapered jars and squeeze tubes
For tapered jars, measure the usable label wall at the height where the label will sit; do not use the widest or narrowest diameter alone. For squeeze tubes, measure the usable flat or slightly curved panel in the application area and allow for the tube changing shape when filled or squeezed. A physical fit check is recommended before mass production.
We can die-cut labels to a custom shape, including a shape that follows your logo outline, when the artwork and size are suitable for converting. Tooling, if required, is confirmed on the written quote.
Why bottle capacity is not a label dimension
A nominal capacity such as 10 ml does not define the label size. Measure the bottle. Capacity describes internal volume. It does not fix the external diameter, straight-wall height, shoulder profile or recessed panel. Supplier changes can also alter the bottle while keeping the same nominal capacity. For every new packaging source, confirm the actual container before reusing an old label size.
Prepare one measurement sheet for every SKU family
For a series of vitamins, capsules or powders, record the bottle supplier, item number, diameter, usable height, final label size, material, finish and roll direction. This turns the approved sample into a repeatable packaging specification rather than a one-time design file.
Worked bottle size release record
The rows below are hypothetical planning examples. Empty observation or commercial fields must be completed from the actual project; no sample has been tested for this article. Use the worked CSV and blank worksheet with the field guide. Keep the example references separate from production records.
| bottle reference | measurement zone | measured wrap mm | proposed gap mm | trial width mm | trial height mm | applied mockup reference | release owner |
|---|---|---|---|---|---|---|---|
| DEMO bottle only | Straight-wall example | 150 | 3 | 147 | Determine from actual bottle | Example arithmetic; not approved | Packaging owner |
| Actual production bottle | Mark measurement height | Attach front/back/seam views | Packaging owner |
Bring this decision into the print inquiry
Contact RP Labels with the completed bottle size release record, the actual packaging reference, approved artwork and quantity per design. State which fields remain unresolved so the print specification and any relevant sample scope can be discussed against the same decision.
Related buying guidance: Custom supplement labels; Supplement label materials and finishes; Supplement barcode and QR placement; Gummy supplement label guide.