Supplement Labels Scuffed in Shipping: Test the Pack, Not Just the Ink
Consider a hypothetical return: the sample looked acceptable on the desk, but the label acquired marks in the mailer. A supplement label can look crisp after printing and still arrive with a rubbed front panel because the bottle moved against corrugated board, another bottle or its own closure during delivery.
I would start with the returned or damaged pack, not the finish catalogue. Where is the mark: a single vertical strip at the carton wall, a circle under the cap, or random haze across the whole label? Each pattern suggests a different contact route. No photograph can prove the cause alone, but it tells us which trial is worth running.
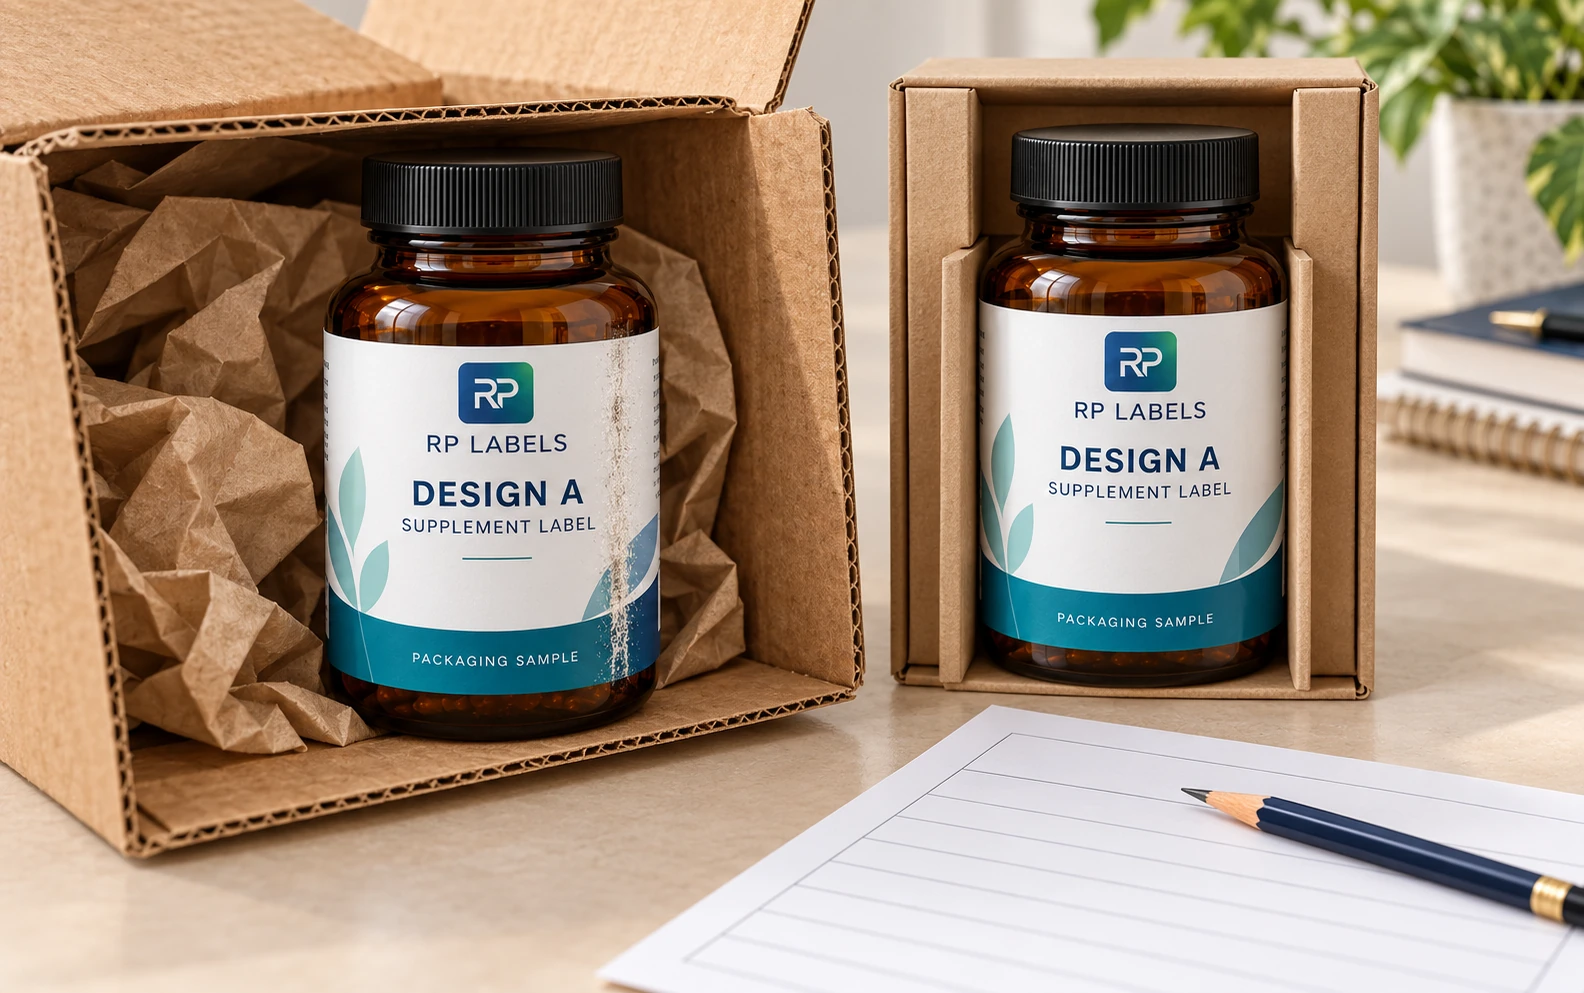
AI-generated packaging illustration. Fictional RP samples show a proposed comparison, not an actual adhesion or shipping test, customer order or approved result.
Recreate the contact before upgrading the finish
Pack the actual filled bottle, cap, inner protection and outer carton as they normally travel. Include the full label construction: facestock, ink, varnish or laminate, adhesive and any variable-data overprint. Then run a repeatable handling or shipping trial appropriate to the buyer's route. Inspect the same surfaces before and after. A bare label rubbed with a thumb may be a quick screen; it is not a substitute for the packed bottle.
Record the sample count, contact surfaces, exposure duration, handling method and what counts as a failure. This is a buyer-agreed acceptance exercise, not a claim that one homegrown rub test is an industry standard. Compare candidates under the same conditions. Otherwise the most expensive construction may win because it was tested more gently.
Separate surface damage from application damage
Scuffing removes or dulls the visible print. Edge lift, wrinkles and bubbles are different faults; a tougher overlaminate may not fix them and can alter how the label wraps around a small bottle. If a mark appears only where the label overlaps itself, inspect seam geometry and application pressure as well as abrasion. Our application troubleshooting guide covers those other failure paths.
Likewise, a label may survive the trip while a date code printed after finishing rubs off. Test the final coded bottle. A glossy, attractive protected face can make the variable-data panel harder to print or read if the construction was not planned as a system.
What a protective finish can and cannot do
Avery Dennison's overlamination technical overview explains that overlaminates can help protect labels against abrasion, moisture and other exposures, while warning that dirt and incompatible ink additives can undermine the laminate. A 3M overlaminate product example similarly lists scuff resistance. Those sources show available material behavior, not a guarantee that a particular supplement bottle will pass your route.
Varnish may be a reasonable, lower-build option for a less demanding pack. Lamination may be justified when the buyer needs more physical protection. Neither material should be selected from a single beauty shot. The finish comparison covers their broad trade-offs; here the question is whether the complete shipped pack survives.
Make the decision visible in an inspection sheet
| Before packing | After trial | Decision |
|---|---|---|
| Photograph front, back and seam | Repeat the same views in matching light | Separate new marks from pre-existing print texture |
| Record material and finish revision | Note which position contacted the carton | Connect the result to the tested construction |
| Check variable text and codes | Check legibility and function again | A pretty front is not enough if coding fails |
| Record bottle count and pack layout | Record movement or protection failure | Packaging changes may beat a more expensive label |
Do not call an option “abrasion-proof.” State what happened in the agreed trial, with the sample and route limitations. A different carton, longer transit or different fill line can change the result. Keep an approved reference bottle for later reorders so a finish change does not arrive unnoticed.
Separate a finish change from a contact change
The worked contact-route plan, blank record and field guide compare three proposed routes. The baseline keeps the current label and pack. A finish candidate changes the identified protective construction while keeping the pack. A packaging candidate keeps the current label while changing the proposed insert or layout. Actual before/after observations remain blank.
This is a way to make the purchasing argument testable, not proof that either fix will work. The packaging owner first records the suspected contact path and the evidence behind that suspicion. A vertical mark near a carton wall suggests a useful investigation; it does not prove that wall caused the damage. Record bottle position, any movement and corresponding contact surfaces during the relevant evaluation.
Photograph the same identified front, back and seam views before and after, with comparable light. Include the completed variable-data code. A finish can preserve the brand panel while another operation remains unsuitable. Separate those observations instead of giving the whole bottle one unexplained pass mark.
The route, handling method, sample count and acceptance conditions belong to the buyer's relevant assessment with appropriate technical input. A different carton or an unavoidable difference between candidates should be recorded as a limitation. If the pack-only candidate addresses the observed contact problem, it deserves a fair cost comparison with a label upgrade. If it does not, the protective construction may still be the relevant change. Obtain actual costs for both scopes rather than announcing which is cheaper in advance.
Keep every actual result attached to its sample and pack references. An unresolved observation is a reason for a focused follow-up, not a successful shipping claim. The worksheet does not certify transport performance or represent a completed RP test.
The useful fix may be inside the box
If the scuff is always at the same carton contact point, an insert or bottle orientation change may reduce motion more effectively than a thicker label. If the entire face loses print under ordinary handling, revisit the ink and protective finish. I would ask for both packaging and label options on the quote, then pay for the one that solves the observed failure.
Send RP the bottle, label artwork, current material, finished pack photos and the actual shipping complaint pattern. Ask for a production-representative finish sample to test in your pack. Request evidence tied to an identified construction and relevant handling evaluation; do not assume any proposed construction has passed.
Send RP Labels the contact-route brief, artwork, quantities, identified current label and finished-pack photographs. Ask which finish sample scope can be quoted while your packaging owner evaluates the actual pack alternatives.
Sources and scope
Demand layer: competitor and process pages linked here, including Avery, HERMA or OnlineLabels where cited, illustrate buyer language and process topics only. They do not supply RP minimum quantities, lead times, prices, certifications or materials. Authority layer: an RP number is backed only by a factory datasheet, a signed quote or proforma, confirmed product data, or a fact kept on the About page. The March 2026 proforma there is one production-run example, not a standing offer. RP shipping and planning pages describe what to confirm on a quote. Worked figures on this page are fictional unless an authority source is named for them.