A vial comes off the labeling bench clean. Then it sits in a molded tray, rides to packing, and arrives with a rubbed brand panel or an edge that has started to lift. I would not call this only an ink problem. The tray, label face, adhesive and application timing are working together, so the sample has to travel as a finished unit.
Before a custom roll order, ask where the tray contacts the vial. A narrow cell may touch the label twice on every insertion and removal. A divider can rub the same point during transport. If the label is placed a little higher than the agreed drawing, its edge may meet a tray shoulder that the artwork team never saw.
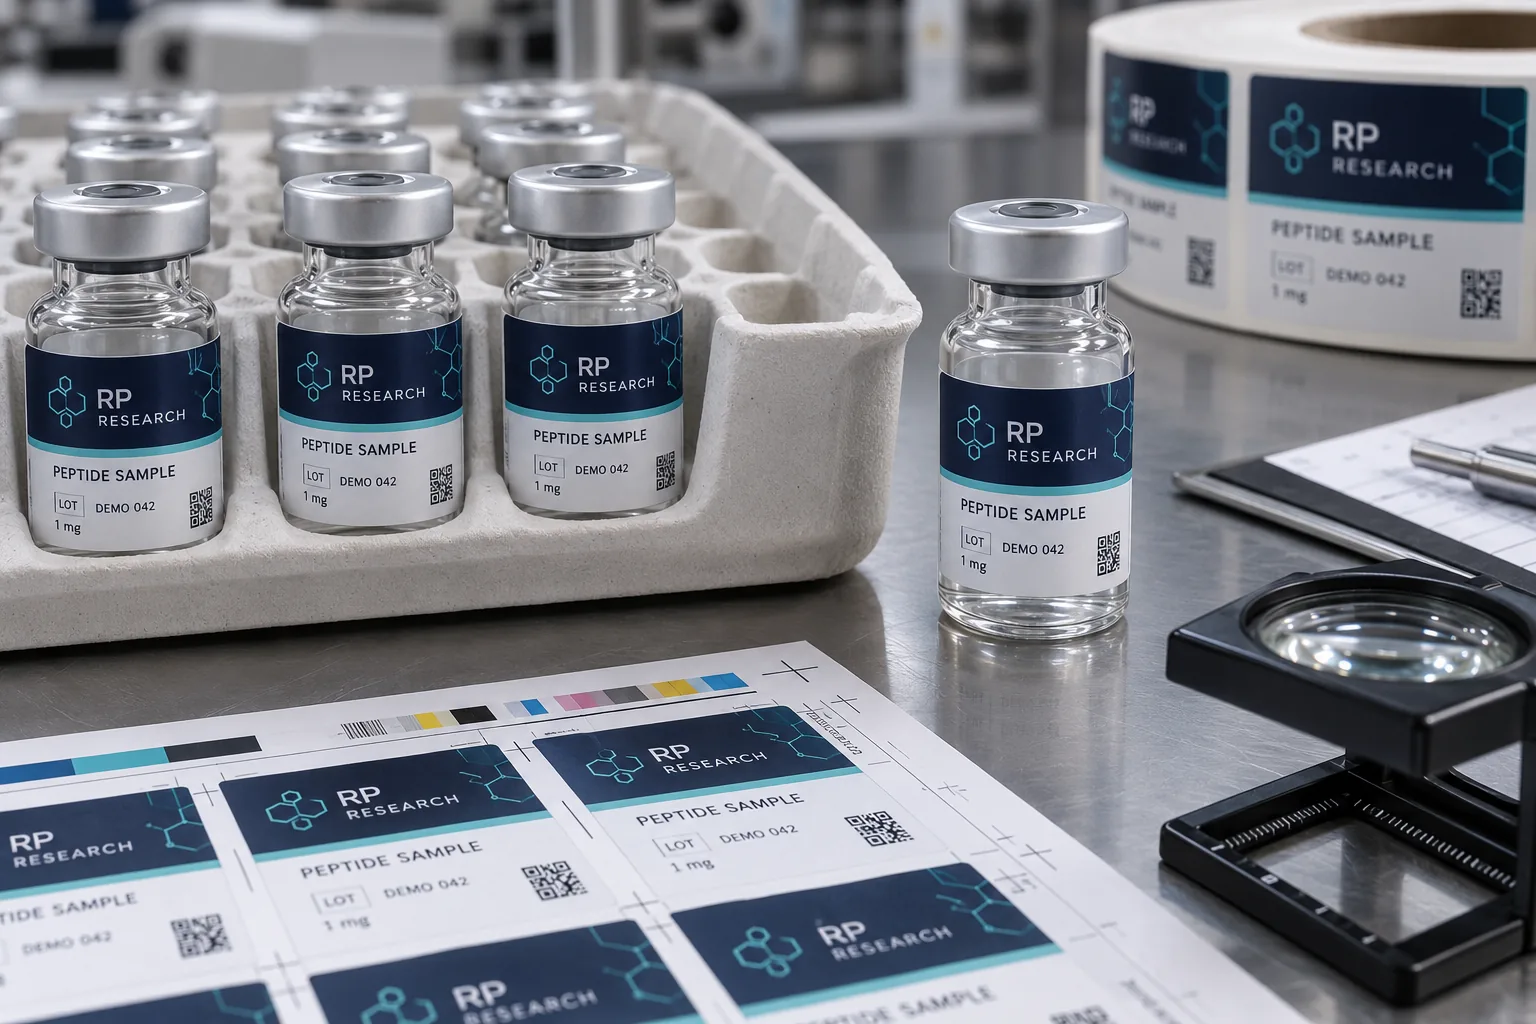
Put the actual labeled vial in the actual tray
The purchase brief should include the filled or representative vial, closure and protective tray. Apply the proposed label at the planned position, then load several samples as they will be packed. Check which area makes contact when the vial is inserted, removed and rotated. Photograph the fresh label and the label after handling under the same light. That comparison is more useful than a perfect flat-sheet print.
I would separate three observations: ink or coating scuff, pressure-sensitive film damage, and edge lift. They look similar in a low-resolution phone photo but lead to different fixes. If only the printed color rubs, ask about a suitable protective finish. If the whole label wrinkles, inspect fit and tray pressure. If a corner lifts, first check the die-cut radius, application surface and placement. Changing material without locating the contact point is an expensive guess.
Choose protection for the real contact, not a brochure adjective
Avery Dennison's overlaminate overview describes products intended to protect printed graphics against scratch, scuff, moisture and chemicals. That is a reason to request a candidate overlaminate, not proof that every laminate works on a small curved vial. An added layer changes total thickness and can change how the label wraps or how an edge behaves.
Ask for two applied samples if the face is the problem: the original construction and one protected alternative. Put both in the same tray. Count actual handling cycles appropriate to your process and record the result; do not let a supplier substitute an unsupported universal "scuffproof" claim. If the original survives, keep the simpler construction. If protection helps but the thicker label begins lifting, the trade-off is visible before bulk production.
Do not overlook the labeling station
HERMA's vial-labeling application guide describes wrap-around labels on small cylindrical glass containers and the need for precise application. The practical point for a buyer is that the trial must use a realistic application method. A carefully hand-smoothed sample can hide an edge issue that appears on a fast line. Conversely, a poorly applied hand sample is not evidence that a material is wrong.
Mark the planned vertical position, wrap seam and tray contact region on the proof. If the seam is the first point to meet the tray wall, shifting placement or adjusting the wrap length may beat a material upgrade. If the full printed face rubs, change the finish only after confirming the tray geometry cannot be changed. Keep the sample cartons and tray type in the approval record so a future reorder is compared against the same handling condition.
What I would ask before approving the order
Send the real tray, vial SKU, cap, proposed label dimensions, number of vials per tray and expected pack-out sequence. Ask the supplier for applied photos before and after a documented handling trial, plus a note identifying whether the damage is print, film or adhesive. Agree the acceptance criteria with your own operations team; there is no single test count that fits every route.
The RP Research scene above is an illustration, not a tested factory result. The useful decision is simpler: if your label spends its life in a tray, approve it in a tray. A low-cost applied proof is worth more than discovering after delivery that the prettiest panel was also the rubbing surface.
Sources and scope
Reviewed October 5, 2026. The primary references linked below support the identified technical points. Buying scenarios and inspection checklists are editorial guidance, not RP production records, certification, legal approval or universal acceptance standards. Demand layer: competitor and process pages linked here, including Avery, HERMA or OnlineLabels where cited, illustrate buyer language and process topics only. They do not supply RP minimum quantities, lead times, prices, certifications or materials. Authority layer: an RP number is backed only by a factory datasheet, a signed quote or proforma, confirmed product data, or a fact kept on the About page. The March 2026 proforma there is one production-run example, not a standing offer. RP shipping and planning pages describe what to confirm on a quote. Worked figures on this page are fictional unless an authority source is named for them.