Printed Labels Sticking Together? How to Document Ink Transfer Before Use
A box of finished labels reaches the packaging team. Two sheets are difficult to separate, or a faint copy of part of the design appears on the adjacent surface. The shipment may look usable at first glance, but forcing the material apart can damage a printed field or remove evidence the supplier needs to assess the issue.
Hold the affected material and record where the transfer occurred. Photograph the printed face and the surface it touched, preserve the packaging and roll or sheet identity, and ask the converter how to retain a representative sample. A transferred image, a tacky surface and adhesive residue are different observations. None alone proves why the material changed.
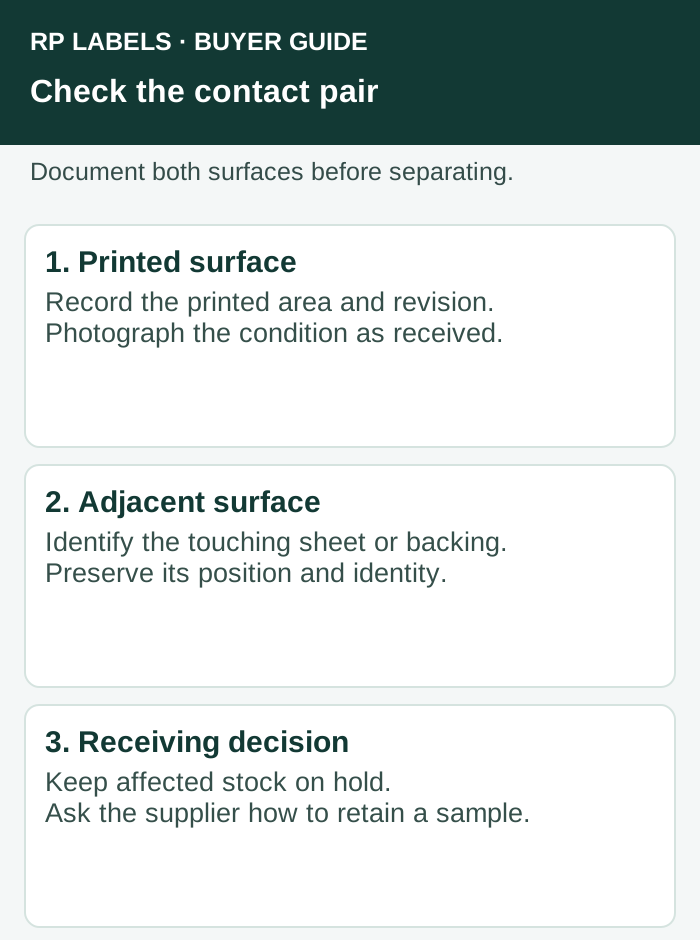
Preserve the contact pair
Identify the printed side, the adjacent sheet or backing surface, and whether the image appears in reverse or in the same position as a nearby design. Record the order number, artwork revision, carton and roll or stack identifier, the first observed location, and the quantity known to be affected. If only a portion has been examined, record the inspected portion rather than treating the entire shipment as defective or acceptable.
Do not deliberately peel apart tightly stuck material, clean the surface, apply a solvent or expose it to heat merely to determine whether it can be used. Those actions may alter the evidence or damage the label. Ask the supplier and your quality owner how to separate, package and return any sample safely. Keep unaffected-looking stock identified separately until the agreed inspection is complete.
Distinguish observations from causes
In printing, set-off can describe transferred ink, while blocking can describe adjacent coated surfaces sticking together. Terminology and mechanisms depend on the construction and process. Sappi's sheet-fed printing guidance describes transfer and sticking in its specific sheet-printing context. It is not evidence that an individual label roll was inadequately dried or cured.
Avery Dennison's troubleshooting guide lists several possible contributors in its offset-printing examples. A converter must assess the actual ink, surface, finish, printing process, pressure and handling history. The buyer should report known conditions and unknowns rather than choosing a cause from a list.
If the material feels sticky only around the cut edge, the separate roll-edge inspection guide addresses the possibility of adhesive or other residue. This guide focuses on a printed image or coated surfaces contacting one another before application. For scuffing after bottles are packed, use the shipping contact guide instead.
Make the comparison useful
If the supplier requests a comparison, identify a separate sample from the same construction and order that appears unaffected. Preserve its original location and packaging. Compare the same printed area and adjacent contact surface, using the supplier's agreed inspection procedure. A different material or a different artwork revision may be useful as a reference, but it does not isolate a single cause.
Record whether the mark obscures buyer-approved copy, a lot field or a machine-readable symbol. A damaged code should be assessed using the actual data and applicable verification requirements, not judged only by appearance. The barcode verification guide explains why a phone scan and a quality report answer different questions.
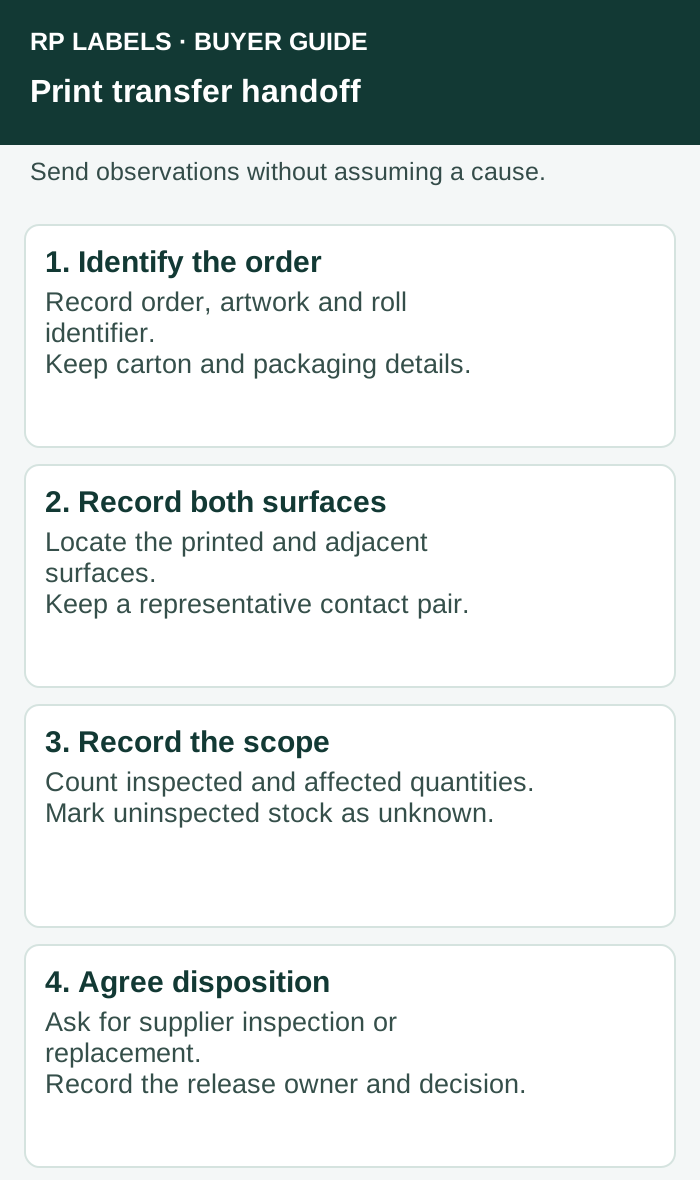
Agree disposition with the responsible parties
Provide the converter with photos of both contacting surfaces, roll or sheet identifiers, artwork revision, affected and inspected quantities, packaging condition and any known storage or transport exception. Ask whether it needs an intact sample, whether remaining stock should remain on hold, and what inspection or replacement route is available. If the defect affects an identifier or required copy, involve the brand's quality or regulatory reviewer before any rework decision.
A supplier may recommend additional inspection, replacement or another action after examining the sample. Do not assume that an extra waiting period will fix the material, that all affected labels can be cleaned, or that every unit is affected. Keep the decision linked to the exact order and record who approved release.
What to specify for the next order
For supplement labels or vial labels, send RP Labels the artwork, material and finish, roll or sheet format, quantity per design, expected handling conditions and any critical printed or machine-readable fields. Ask what receiving evidence and acceptance criteria can be agreed for the specific job. A representative printed sample can help define what both parties are checking; it does not itself guarantee the condition of every later shipment.
Sources and scope
Sources accessed November 2, 2026: Sappi, sheet-fed ink set-off guidance; Avery Dennison, label-printing troubleshooting. The scenario and diagrams are editorial examples, not a reported RP defect, laboratory result or universal test method. Demand layer: competitor and process pages linked here, including Avery, HERMA or OnlineLabels where cited, illustrate buyer language and process topics only. They do not supply RP minimum quantities, lead times, prices, certifications or materials. Authority layer: an RP number is backed only by a factory datasheet, a signed quote or proforma, confirmed product data, or a fact kept on the About page. The March 2026 proforma there is one production-run example, not a standing offer. RP shipping and planning pages describe what to confirm on a quote. Worked figures on this page are fictional unless an authority source is named for them.