Front and Back Bottle Labels: Define the Applied Gap Before Roll Release
The front label looks centered. The back label also looks centered when viewed alone. Put both on the same bottle and the two side gaps may tell another story. In a hypothetical two-roll project, artwork approval has answered the print question while leaving the applied-position question open.
For a short hand-applied run, a good positioning aid may be enough. For a repeat machine job, the packer needs a reference the equipment can reproduce. I would not ask the designer to rescue a drifting line by disguising the gaps. First find out what the bottle and application method can hold, then design around that honest result.
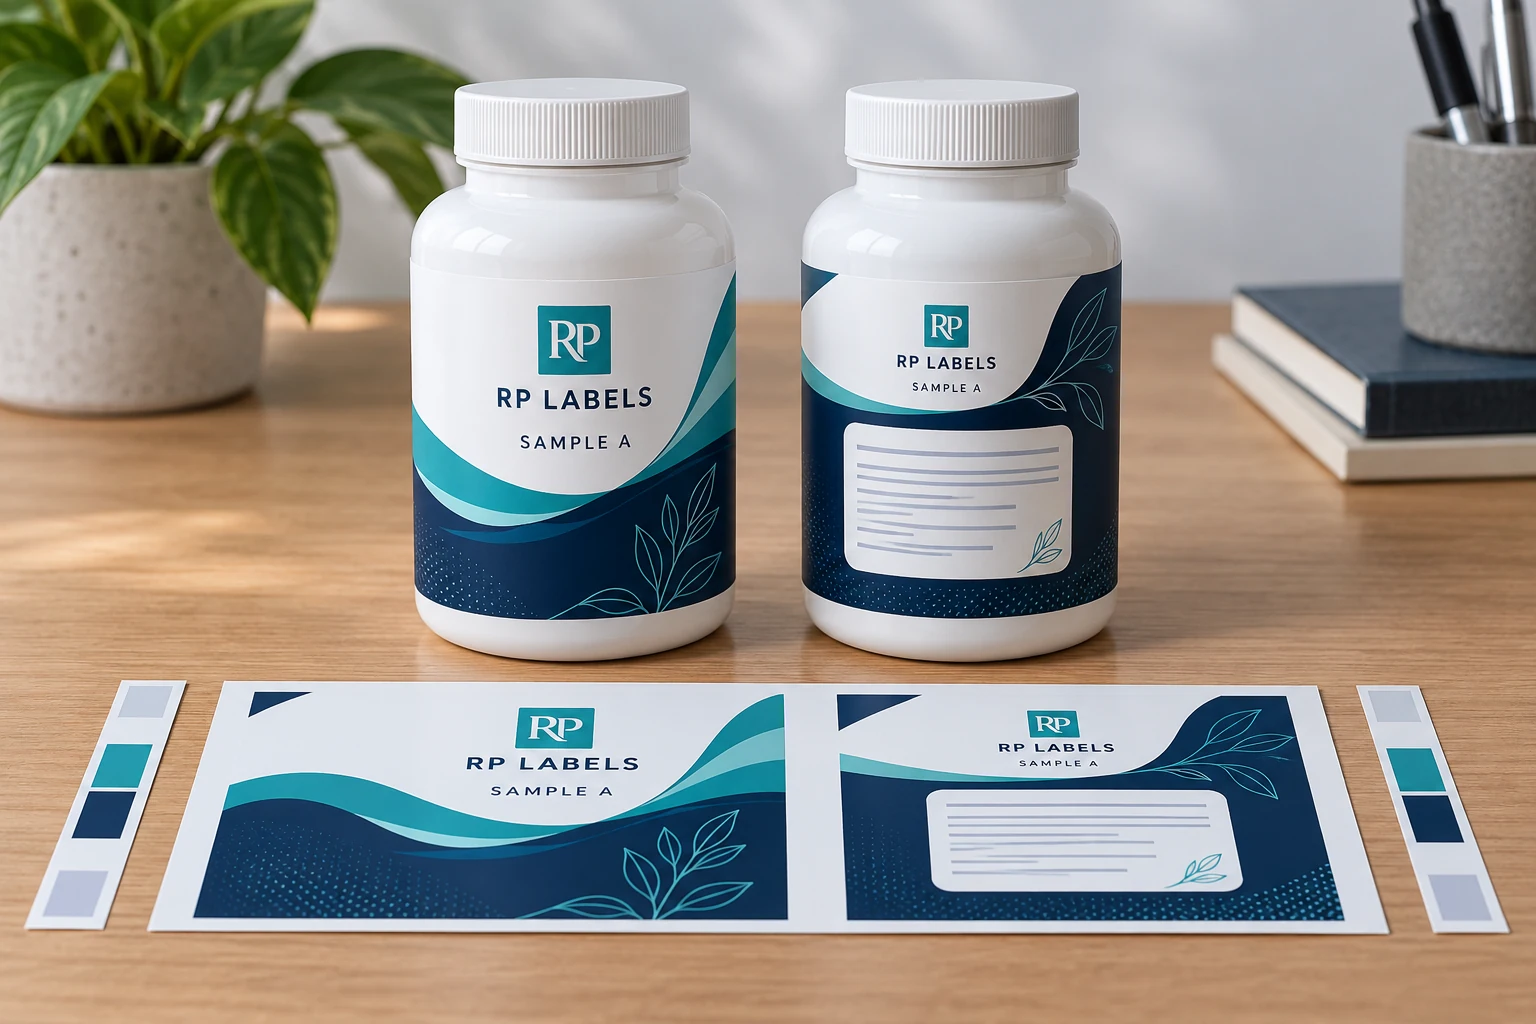
AI-generated packaging illustration. Fictional RP samples show the proposed decision; no physical test or customer order is documented.
Measure the relationship between the two labels
Mark the bottle's intended front orientation and identify any molded feature the applicator uses. Then describe the position of each label relative to that reference. The target side gaps and accepted placement variation must come from the packaging and line owners, not a generic diagram or an invented tolerance in this article.
The worked position record has left and right gap observations for a series of sample bottles. It also records skew and the code's applied location. This avoids approving one carefully positioned prototype while the actual line produces a drifting relationship. The responsible owner defines the trial size, speed and review method relevant to the equipment.
Keep the two roll specifications linked to the same set reference. If one roll is rewound or the artwork orientation changes, return that change to the line owner. A correct front file on an incorrectly oriented roll can force an operational fix that was never included in the quote.
A controlled hand-application jig may be perfectly practical for a small project. A repeat line may need an equipment-specific indexing method and a documented setup. The right purchase depends on the application route, not on whether two separate labels appear more premium than one wrap. If the position cannot be maintained reliably, discuss a different layout or packaging format rather than hiding the drift with a narrower decorative gap.
Send RP Labels both artwork files, the actual bottle, the agreed placement reference and the packer's roll requirements. Keep the final applied photographs and line confirmation with the approved pair. The deliverable is a coordinated set whose relationship has been reviewed, rather than two unrelated rectangles.
Measure the available wrap, then place the panels
Measure the bottle's labelable circumference and straight-sided height. Mark any shoulder taper, molded seam, rib, textured area or handling obstruction. Then position the front label as the consumer will see it on shelf. The back label needs enough clear space for required information and room between the two panels after application tolerances are considered.
A paper strip wrapped around the real bottle is often faster than arguing over a screen. Mark front center, back center and the visible spaces. If the bottle is tapered, a rectangular label may skew; that is a separate geometry issue covered in the tapered bottle guide.
Keep the barcode out of the risky zones
GS1 General Specifications advise against putting a barcode or its quiet zones on seams, ridges, tight curves, folds and overlaps. The back of a retail item is generally the preferred area, but the available flat-enough zone on this bottle still needs to be checked. A barcode cannot be approved merely because it is visible on a flat PDF.
Apply a production-representative sample and scan it at the intended checkout or warehouse workflow. If the printed symbol will be verified, preserve the verification record for the approved construction. A decorative QR code elsewhere on the pack should not crowd the retail code or its quiet zone. The barcode verification guide separates decoded data from actual print quality.
Agree how the machine finds the second label
Front/back placement may be done with separate stations, an indexed container or another equipment-specific arrangement. HERMA's bottle-labeling overview shows why bottle format and application method have to be considered together. Ask your packer to identify the equipment model and share a photograph of the application path; do not assume a hand-applied prototype predicts machine placement.
For two separate rolls, state which artwork is front and which is back, winding direction, core, gap and placement reference. Run a short setup trial, then check a sequence of bottles rather than only the first successful unit. Look for drifting gap, skew and a front panel that turns away from the shelf-facing orientation. An error in bottle indexing should be fixed at the line, not disguised by stretching the artwork.
Worked front back alignment record
The rows below are hypothetical planning examples. Empty observation or commercial fields must be completed from the actual project; no sample has been tested for this article. Use the worked CSV and blank worksheet with the field guide. Keep the example references separate from production records.
| bottle sample | set revision | front reference | left gap observation | right gap observation | skew observation | code position | review owner |
|---|---|---|---|---|---|---|---|
| DEMO-1 | PAIR-R1 | Marked physical reference | Record actual | Record actual | Record actual | Inspect applied code | Line owner |
| DEMO-2 | PAIR-R1 | Same reference | Record actual | Record actual | Record actual | Inspect applied code | Line owner |
Bring this decision into the print inquiry
Contact RP Labels with the completed front back alignment record, the actual packaging reference, approved artwork and quantity per design. State which fields remain unresolved so the print specification and any relevant sample scope can be discussed against the same decision.
Related buying guidance: Supplement Labels; Measure the bottle; Application troubleshooting; Barcode verification.
Sources and scope
Demand layer: competitor and process pages linked here, including Avery, HERMA or OnlineLabels where cited, illustrate buyer language and process topics only. They do not supply RP minimum quantities, lead times, prices, certifications or materials. Authority layer: an RP number is backed only by a factory datasheet, a signed quote or proforma, confirmed product data, or a fact kept on the About page. The March 2026 proforma there is one production-run example, not a standing offer. RP shipping and planning pages describe what to confirm on a quote. Worked figures on this page are fictional unless an authority source is named for them.